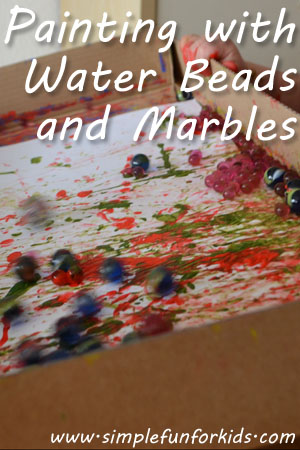
Painting with Water Beads and Marbles
This post contains affiliate links for your convenience. Thank you for your support!
You’ll need:
- Water beads.
- Marbles.
- Tempera paint
- Heavy paper.
- Shallow box, box lid or similar container.
E loves water beads {click here for a sensory activity we did with them}, so she was all over this idea.
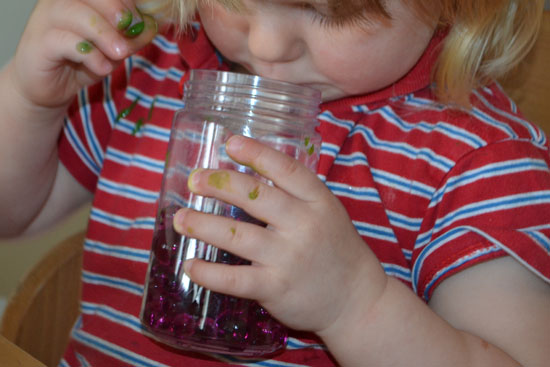
We used the same box lid to contain our water beads, and this time, I mixed some green paint for E and put it on a plate along with some red paint {the choice of colors was random but some of the resulting marks reminded me of flowers – I liked that a lot}.
She started out dipping the beads in paint and rolling them across the paper like we’d done with the marbles (and handed me a few to join in the fun) but decided after a while that it would be better to just dump them all on the paper and skip the paint.
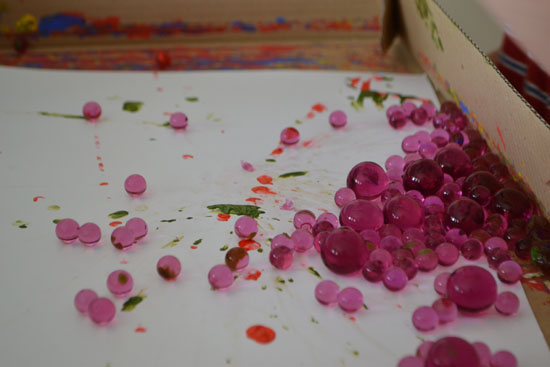
She rolled the water beads around the paper a bit, and it turned out that it really doesn’t take very much paint for them to make some nice tracks on the paper. It must be the moisture in the beads that makes the paint last a lot longer than with marbles.
E also made sure to squish a bunch of water beads just because that’s what she likes to do with them.
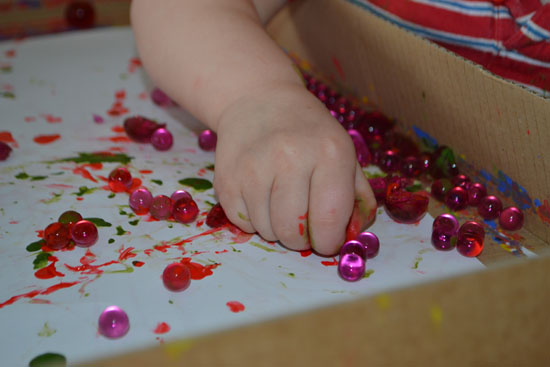
After a few minutes, she decided to add some more paint after all and placed a bunch of the water beads in the paint, again just like we’d done while painting with marbles.
She dumped the paint-covered water beads back into our box lid
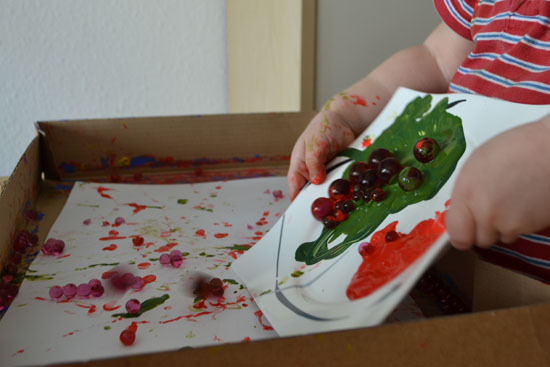
but soon noticed that some of them got stuck in the paint. She tried the old gravity trick
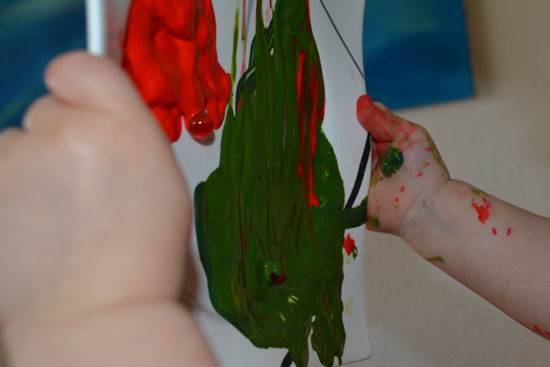
but it didn’t do enough, so at my suggestions, she used the paintbrush I’d used to mix the green paint for her while I held the plate.
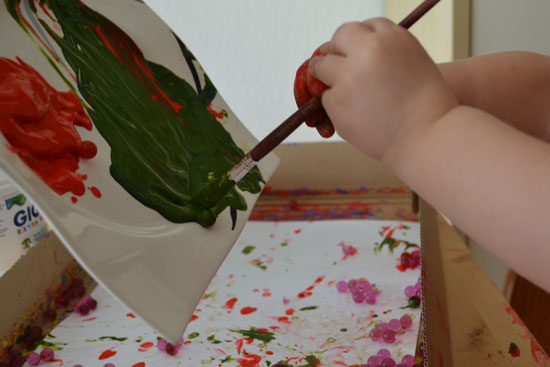
As she’d learned last time, E tilted the box lid back and forth but water beads really are slippery little suckers, and here’s a picture of when a bunch of them escaped and fell on the floor.
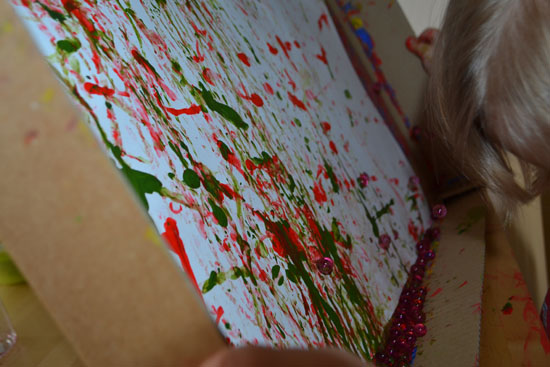
After this, E was a lot more careful and was able to contain most of the beads.
Even though this was quite a bit messier than when we used marbles, I definitely loved the painting it made!
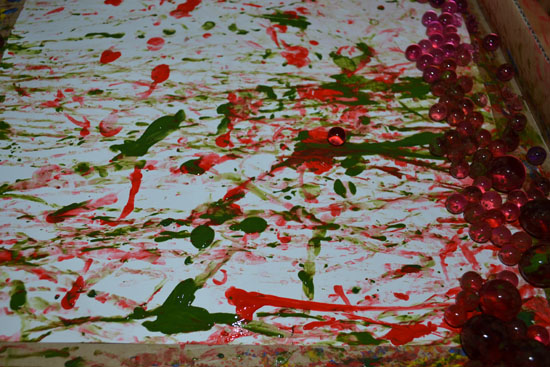
But wait!
We still had a bowl of marbles sitting out, so what to do, what to do…
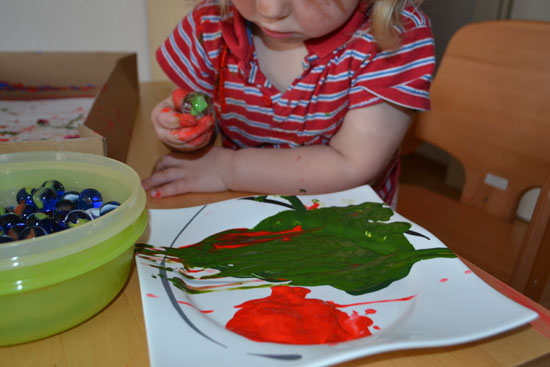
That’s right, put them in the box lid with the water beads, and tilt some more!
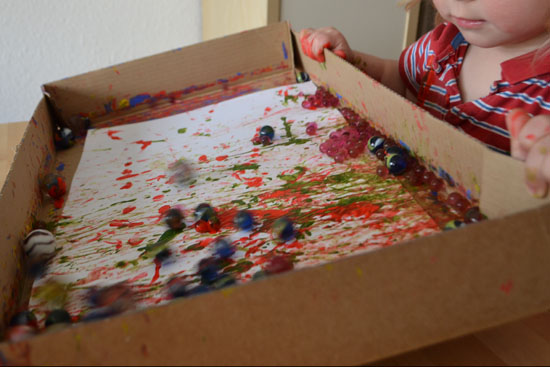
The weight of the marbles squeezed even more moisture out of the water beads, and they changed the painting quite a bit. Still lovely!
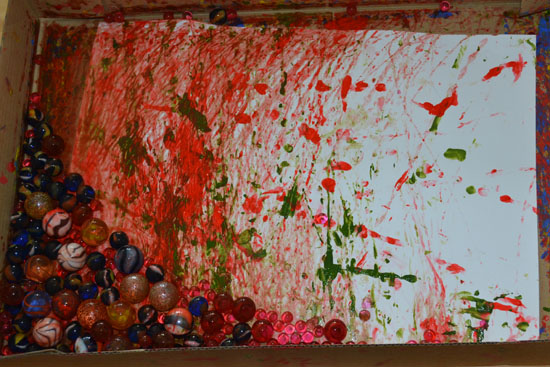
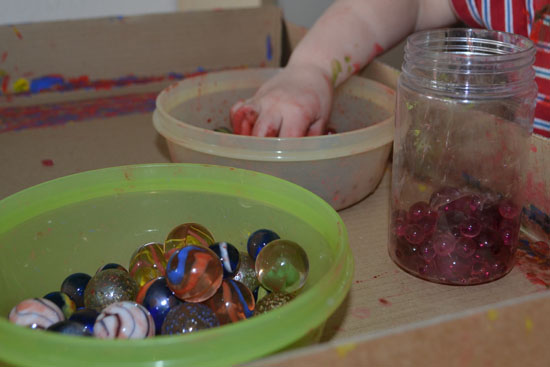
I was actually just going to throw the water beads out after this but E insisted on sorting the marbles and beads into different containers first.
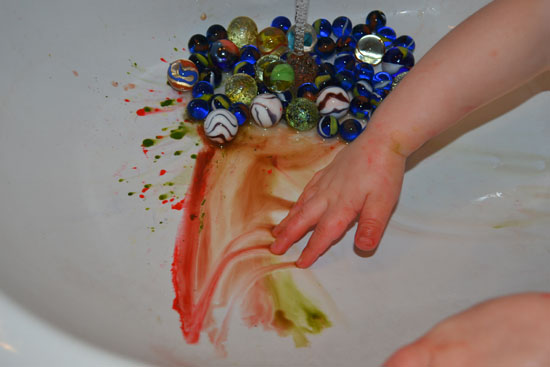
As usual, we did the clean-up together, and E washed the marbles.
What I learned:
- This can be quite a bit messier than painting with just marbles {E actually did a great job controlling the water beads and paint but if she’d wanted to, it could’ve been really messy}.
- If you’re worried about the mess, you may wanna skip the smaller water beads in particular because dipping them in paint results in equal amounts on them and your hands.
- On the upside, painted water beads don’t bounce nearly as much as ones without paint do.
- Still, in order to reliably contain the beads, you’ll have to go with a covered container.
Additional suggestions:
- To explore hard and soft in a similar way, use little balls of play dough instead of water beads and/or nuts instead of marbles.
- For an outdoor activity, set up a large piece of cardboard (or possibly wood) and roll paint-dipped marbles, water beads or other items down an incline. Make sure your items don’t hit the grass or dirt on the bottom by putting down more paper, a washable tablecloth or shower curtain so you can collect and re-use them.
Have you tried painting with water beads or similar items? What materials did you use? Tell me about it in the comments!
If you liked this post, come follow me on Pinterest to keep up to date with all we do, and for lots of great ideas from others! Or like and drop me a line on my Facebook page, where I share my own posts and those of others every day!

