Painting Air Cushions
Materials for Painting Air Cushions
- Air cushions.
- Paint.
- Paintbrush (optional).
I’d originally thought about trying to paint a balloon but while trying to figure out how to best secure one so it wouldn’t roll all over the place, I remembered the air cushions I’d been saving in a drawer while trying to find a use for them.
They provided a similar painting experience to balloons without the potential of moving all over the table while E was painting.
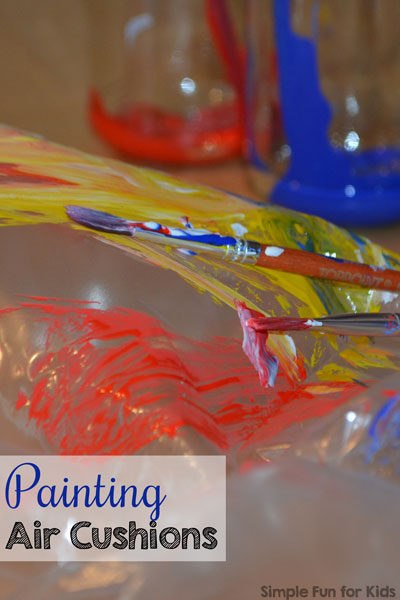
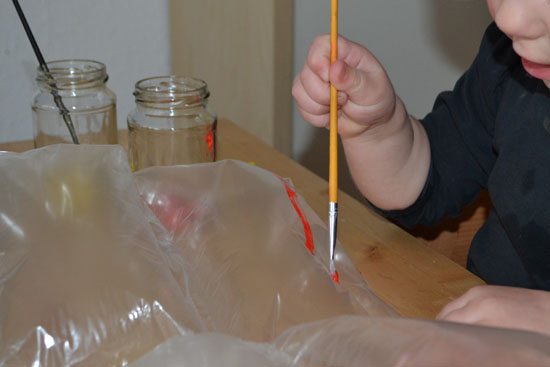
She got right to covering the plastic with tempera paint. The colors were very vibrant.


This was the first time I’d actually given her a separate paintbrush for each color, and when she figured she was done painting the cushion, she took them all out

and started trying to get to the paint with her fingers. It wasn’t an easy feat…


Finally, E prevailed and was able to finger paint… her face 😉

Finished painted air cushion:

Finished face painting 😉

When I told E she’d have to take a bath to wash off all the paint, she immediately grabbed the jars of paint

and put them in the bathtub before climbing in herself. {Wonder why E wanted to give the jars a bath? Check out our Marbled Hearts activity to read about the first time I got rid of the mess by placing kid and art supplies into the tub!}

What I learned:
- Tempera works great on plastic and looks very vibrant but it does flake off after a few hours, so this isn’t a good technique for artwork you intend to keep.

- The process was fun and different, though, it’s getting high marks from both E and me.
Additional suggestions:
- The paintbrushes were optional, finger painting would’ve worked well and been even more of a sensory experience.
- Give your toddlers some stickers to decorate the air cushion.
If you liked this post, come follow me on Pinterest to keep up to date with all we do, and for lots of great ideas from others! Or like and drop me a line on my Facebook page, where I share my own posts and those of others every day!


