Microwave Puffy Sand Paint
We love puffy paint art around here! There’s just something awesome about the 3D texture. We’ve painted with Shaving Cream Puffy Paint that dries puffy on its own, and we’ve made Microwave Puffy Paint that needs to be zapped in the microwave to dry puffy.
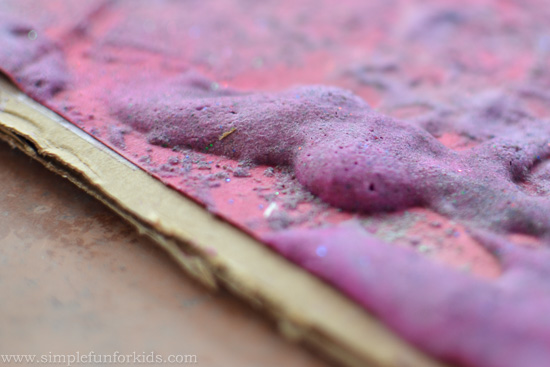
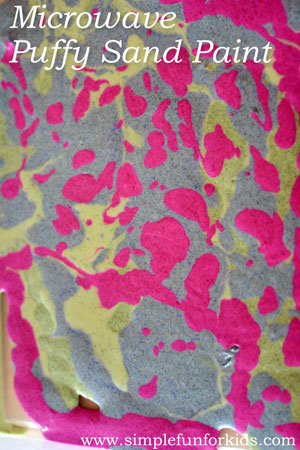
Today’s post is about a different kind of microwave puffy paint than we’d previously tried with an even more awesome texture: Puffy Sand Paint.
(E was 3 years and 8 months old.)
This post contains affiliate links for your convenience.
Materials for Puffy Sand Paint:
- Flour.
- Water.
- Baking soda. {Baking powder works, too. And although I haven’t tried, I think self-rising flour would be another option.}
- Liquid watercolors or food coloring.
- Sand. {You could use colored sand and skip the liquid watercolors/food coloring.}
- Bowls and spoons to mix the paint.
- Paintbrushes (optional). {It’s a bit difficult to properly apply puffy paint with a paintbrush – but still doable, and E always likes to play around with it.}
- Plastic sandwich or freezer bag and scissors to make a piping bag (optional).
- Glitter (optional). {I thought we’d added a whole lot of glitter but it hardly showed up in the paint.}
- Construction paper and cardboard. {You could use heavier paper like card stock and skip the cardboard.}
E mixed a cup of flour with two tablespoons baking powder, then added water to make it a consistency similar to tempera paint. She added liquid watercolors and glitter to taste, then finally added about a cup of sand. This was basically the same recipe as the Microwave Puffy Paint we’d made previously, just replacing salt with sand.
I wanted a large canvas for E to paint on but I had to keep in mind that we wouldn’t be able to fit much more than a letter-size sheet of paper into the microwave later.
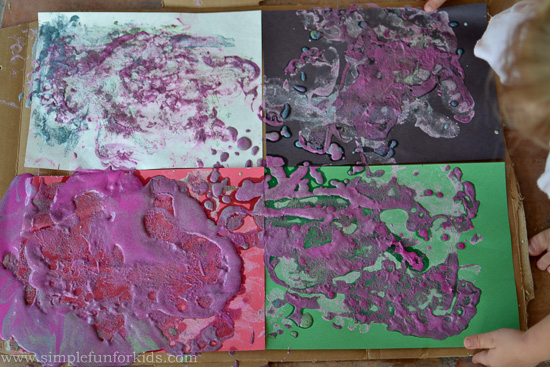
So I cut a large piece of cardboard from a box we had lying around, and E and I worked together to tape four sheets of construction paper to it. As a bonus, we were able to use paper in different colors that accentuated the puffy sand paint in different ways!
Finally, E was able to get started with her artwork.
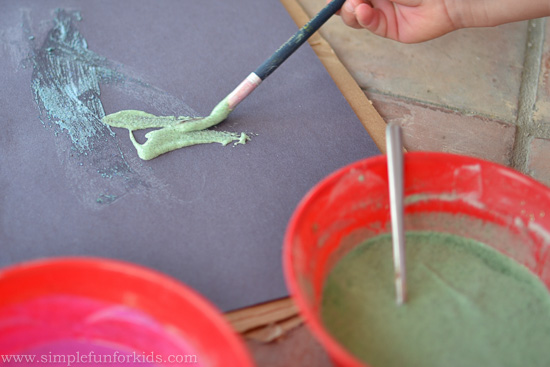
She tried a paintbrush first and was able to build up a pretty good layer of paint after some experimentation.
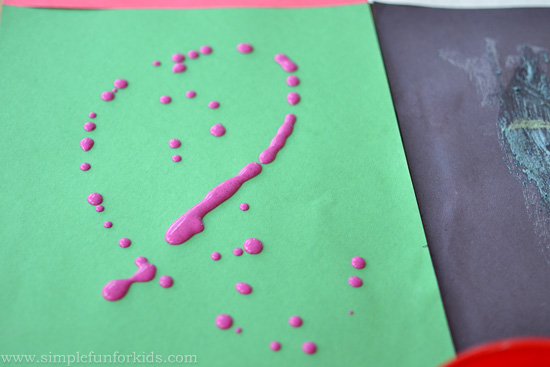
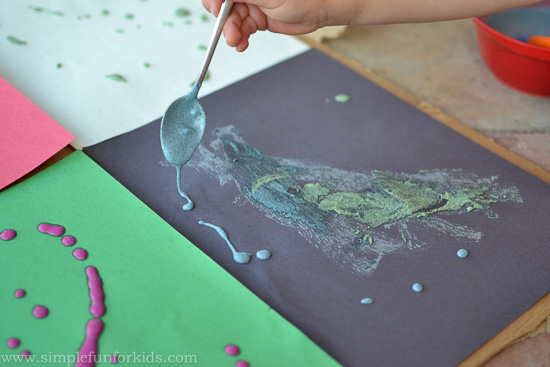
In the meantime, I tried using one of the spoons E had used for mixing to drip the paint onto the construction paper – it worked quite well.
E tried a spoon herself with good success
but there’s just something she loves about paintbrushes 🙂
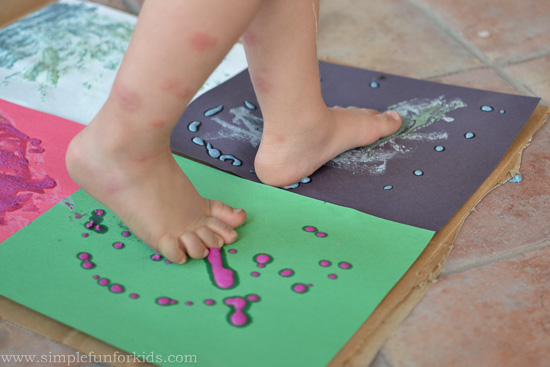
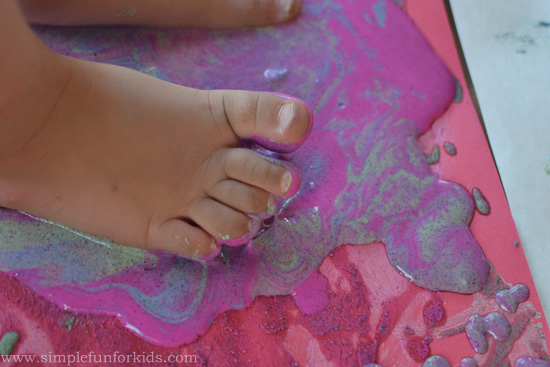
After all four pieces of construction paper had been painted, E decided to explore the puffy sand paint with her feet and walked in a circle over her paintings.
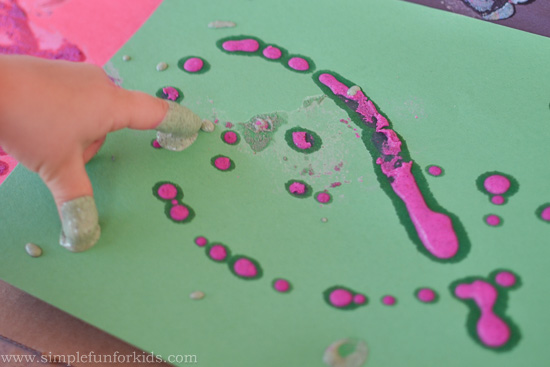
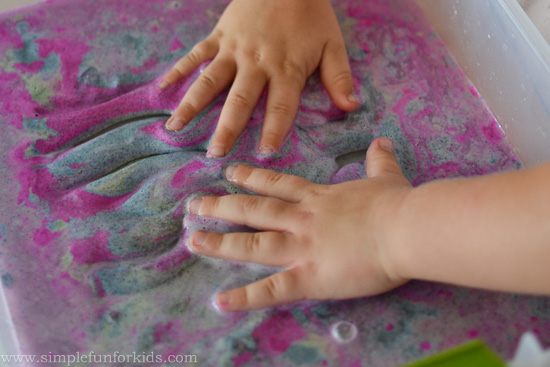
Next was some sensory exploration with her fingers.
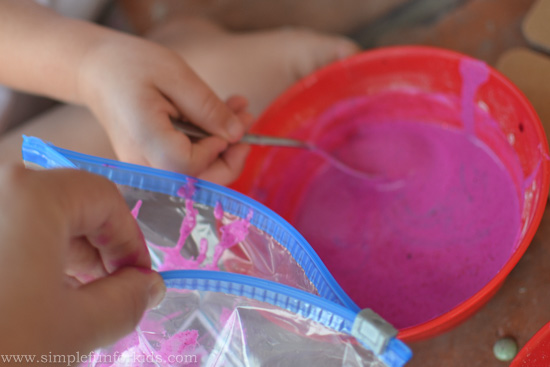
I’ve always wanted to try piping puffy paint, and E didn’t really know what I was talking about but was open to the idea, so I got out a Ziploc bag that I held open while E spooned some of the paint into it.
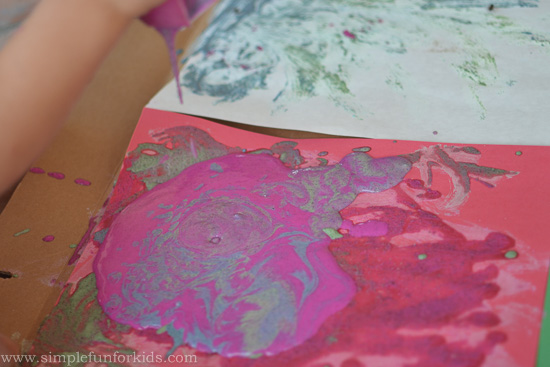
I cut off a corner, and E decided to use it to make a large multi-colored puddle 😉
The paint puddle just screamed for E to step into it.
She walked over all four pieces of construction paper again before deciding that she was done with this art project.
The construction paper had become pretty wet in spots, and with the added weight from the sand, it was pretty hard to maneuver it into the microwave without the paper tearing. To give it more support, I cut the large piece of cardboard into smaller pieces that could go into the microwave with the painted paper.
We left the paintings in the microwave for about 30 seconds, although the red paper that had held the big puddle took a bit longer.
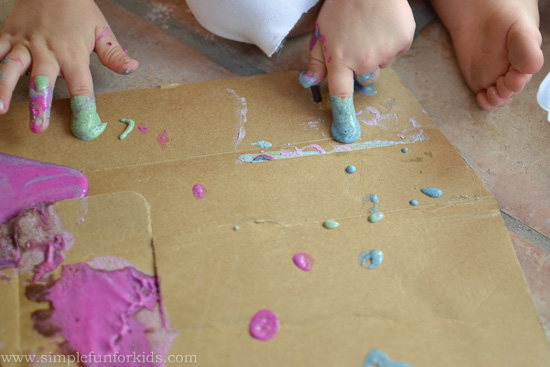
We still had lots of puffy sand paint left over. E did some fingerprints with it on the left over cardboard
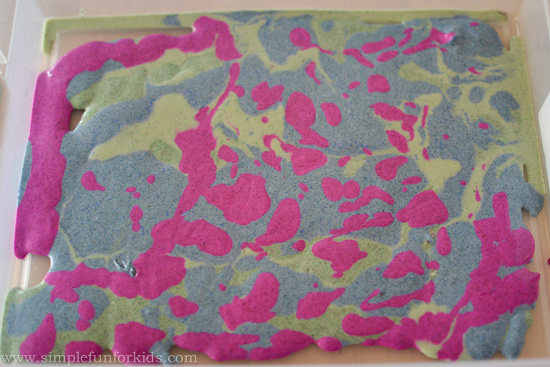
before I poured the paint into a sensory bin.
Pretty, isn’t it?
We tried getting the paint to erupt with vinegar but there wasn’t enough baking soda in it to cause more than a few minor bubbles.
E finished up this project just exploring the paint with her hands until all the colors had been thoroughly mixed.
Have you tried puffy paint? Do you prefer the shaving cream or the microwave version? Leave a comment below – and feel free to post a link if you’ve written about it!
Click here to subscribe to my newsletter and receive an email twice a week with news from our house and links to all new posts! If you prefer daily updates, you have the option of subscribing to my RSS feed or my printables RSS feed on the same page.
Join me in my Facebook group where we discuss simple play ideas for young kids every day!
