

Invitation to Build a Bottle Cap Snowman
Somehow, I always end up with lots of bottle caps, even though I don’t usually save them on purpose. The other day, I was looking at the stash of water bottle caps and thought “These would make a great bottle cap snowman!”
My first idea was to turn them into snowman ornaments but that didn’t turn out quite as nice as I thought {we still hung it on our tree, and there’s definitely potential for it, I just need to find a better way to connect the bottle caps than sticky tape that’s still easy enough for a preschooler to do. }.
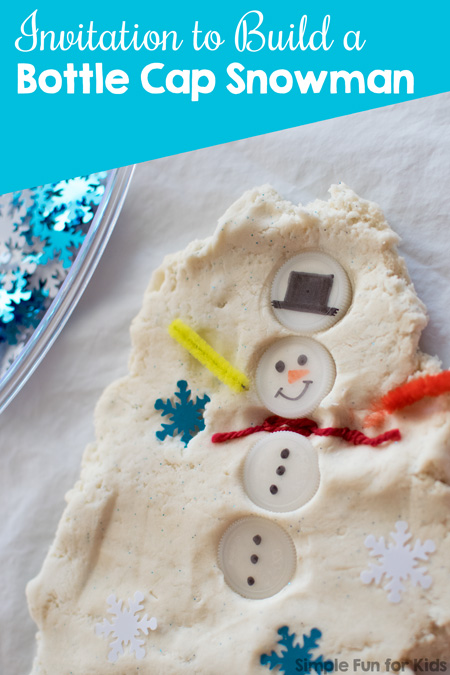
In the meantime, I set up an invitation to build a bottle cap snowman for E with a simple, non-permanent way of keeping the snowman parts in place: Play dough!
{Want more snowman activities? They’re all HERE.}
(E was 4 years and 1 month old.)
This post contains affiliate links for your convenience.
To build your own bottle cap snowman, you’ll need:
- Bottle caps. {If you don’t have white ones, you could paint them white.}
- Sharpies.
- Cut up pipe cleaners for arms {they would make great scarves, too}.
- Wool to make scarves {could be used for arms, too}.
- Craft foam to make hats {you can use craft foam to make arms and scarves as well, if you prefer}.
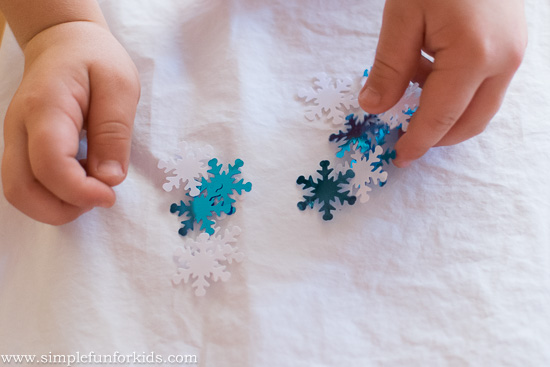
- Snowflake confetti.
- Play dough.
- Scissors (optional).
- Divided tray (optional).
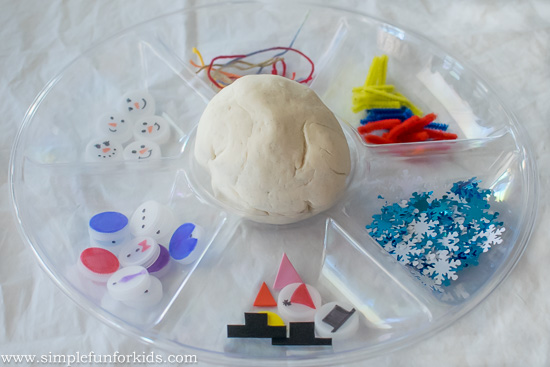
I prepared everything while E wasn’t looking:
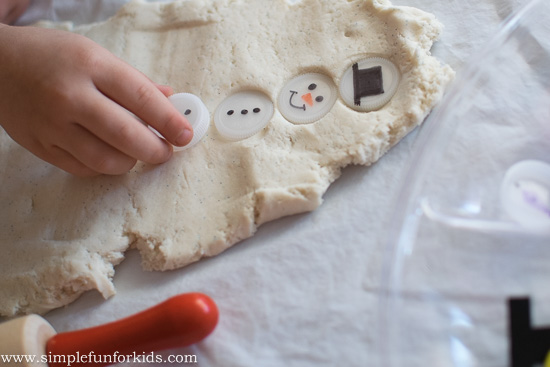
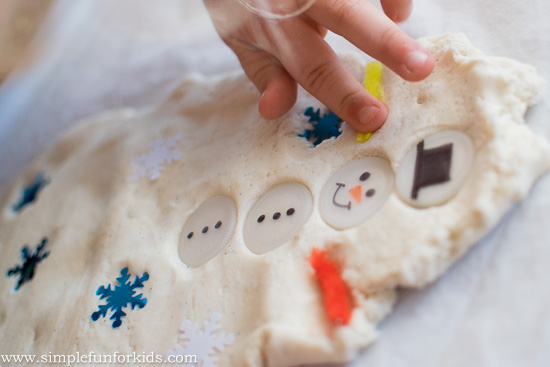
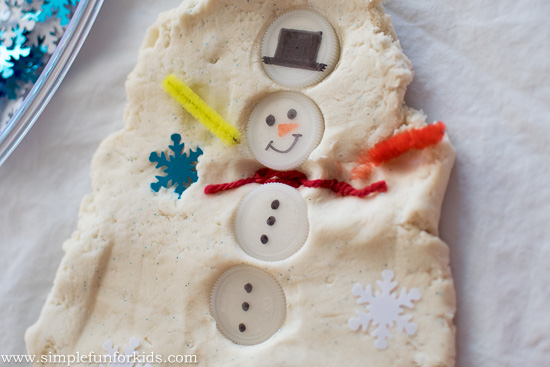
– I drew snowman faces and different snowman body parts on the bottle caps with Sharpies.
– I made two different hats from bottle caps and a few more simple ones from craft foam.
– a few cut-up pipe cleaners and pieces of yarn for arms and scarves,
– added a bunch of snowflakes, just because I think they look awesome 😉
– I also made a fresh batch of play dough {following a new-to-me microwave play dough recipe, that’s sadly not available anymore (you could try this one by The Chaos and the Clutter instead); I only used half the ingredients of the original recipe}. I added some white paint and blue glitter for a wintery theme but it didn’t really turn white – just a bit whiter than it was to begin with 😉
– Finally, I set up everything in a divided tray for E to find.
She seemed a bit confused about the hats but my explanation that many snowman wear hats seemed to clear things up. {She’s a big fan and very familiar with snowmen, I’m not sure why the hats threw her for a loop. I guess sometimes, you just need some confirmation of things you already know.}
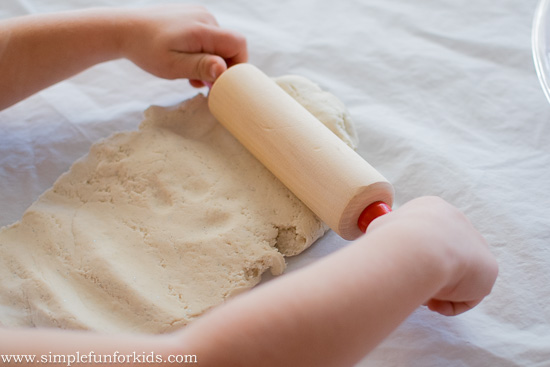
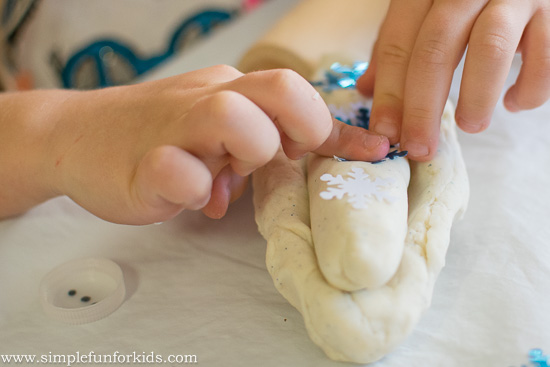
She ran to get her new wooden rolling pin {from a really awesome IKEA baking set she’d received from her grandma a few days earlier}. It worked really well for her, and she was able to roll out the play dough herself.
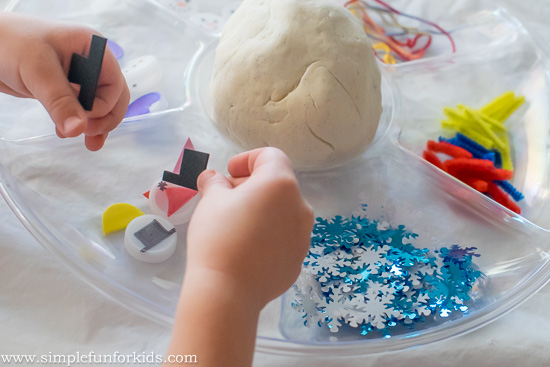
She built her snowman
and started adding some of those pretty snowflakes – and I think she knew that I like them, because she gave me a whole bunch <3
Pipe cleaner arms were next. She wasn’t fully satisfied with the way they stuck to the play dough (or rather didn’t) but made do.
Finally, she took a red piece of wool, tried to tie it into a knot herself, then asked me to do it for her. She used it to finish off her snowman with a scarf.
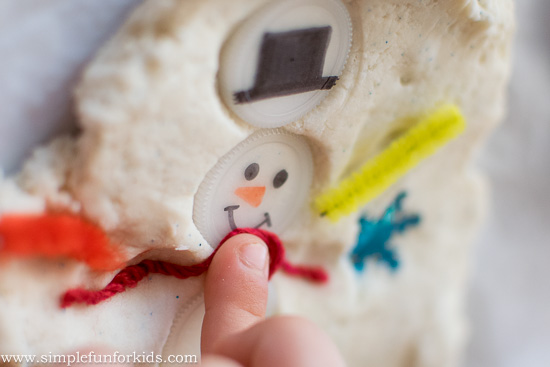
How cute is the finished bottle cap snowman??! I absolutely love it!
E went through the other snowman body parts in the tray and asked me why I’d colored one of the bottle caps red and one blue. I told her that I figured that some snowmen may wear colorful clothes.
After some thought about this, she decided to use the red bottle cap in a completely different way: She asked for a Sharpie and drew a face on the cap.

Next, she stuck it in the play dough along with a craft foam hat. When she removed the hat again, she noticed the cool imprint it left – and was inspired to pull out the rest of the items in the play dough.
She’d pushed one of the bottle caps far enough into the play dough to end up with a round cut out.
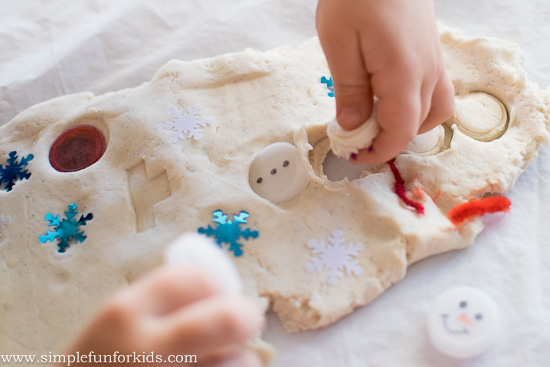
This was absolutely hilarious to her 🙂
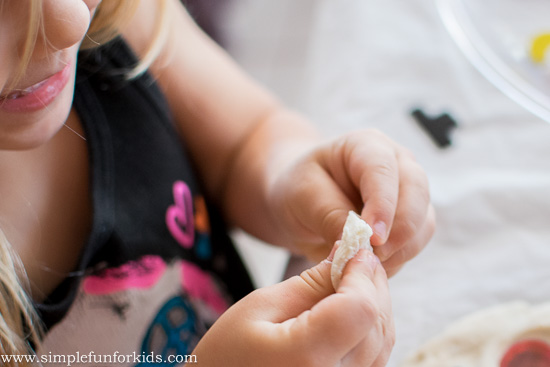
After this, she suddenly switched gears completely and decided to turn the little piece of play dough into the base for a “hotdog” she wanted to serve me.
Her hotdog was made up of layers of play dough with snowflakes in between and on top. Delicious!
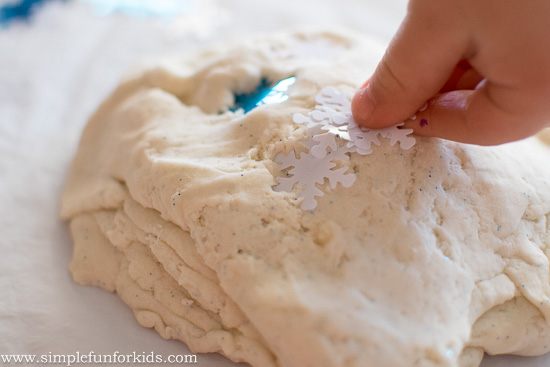
She asked me to make a hotdog for her, and she decorated my rendition with even more snowflakes.
I love how she let her creativity lead her into a completely different direction than I’d originally planned 🙂
Here are some more winter activities you might like:

Winter Clothes Pre-Primer Sight Word Match
Paper Towel Snowman Suncatcher
Winter Penguin Labeling Worksheets
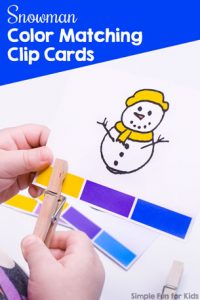
Snowman Color Matching Clip Cards
Click here to subscribe to my newsletter and receive an email twice a week with news from our house and links to all new posts! If you prefer daily updates, you have the option of subscribing to my RSS feed or my printables RSS feed on the same page. If you ever want to stop receiving emails from me, you can unsubscribe at any time.
Join me in my Facebook group where we discuss simple play ideas for young kids every day!
Hi Tina,
Firstly, I love your website. As a full-time working mom of two boys getting ideas for craft activities can fall by the wayside. So I am so grateful for all the wonderful people who, like you, have a website full of fabulous projects – thank you!!
With regards to your idea about making bottle top snowmen ornaments for the Christmas tree: what about if you were to drill holes through the bottle tops (where they would be touching each other) before giving them to the kids to put together with brass fasteners? That might solve the problem of the snowmen coming apart.
Keep well,
Cathy (South Africa)
Thank you for the kind words, Cathy! It means so much that my website helps others 🙂 I’ll have to try your idea for attaching the bottle lids when it gets closer to Christmas. Thank you for sharing!