

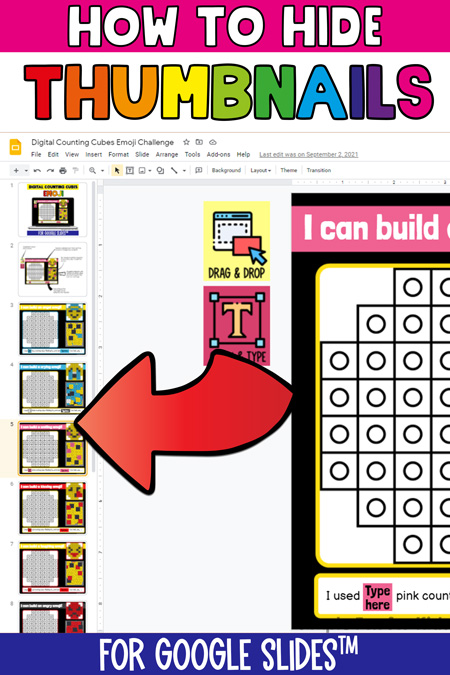
How to Hide Google Slides Thumbnails
Have you been using Google Slides for distance or digital learning? It’s a great, free platform to learn and practice different skills, and Google Classroom makes it easy to share presentations with students.
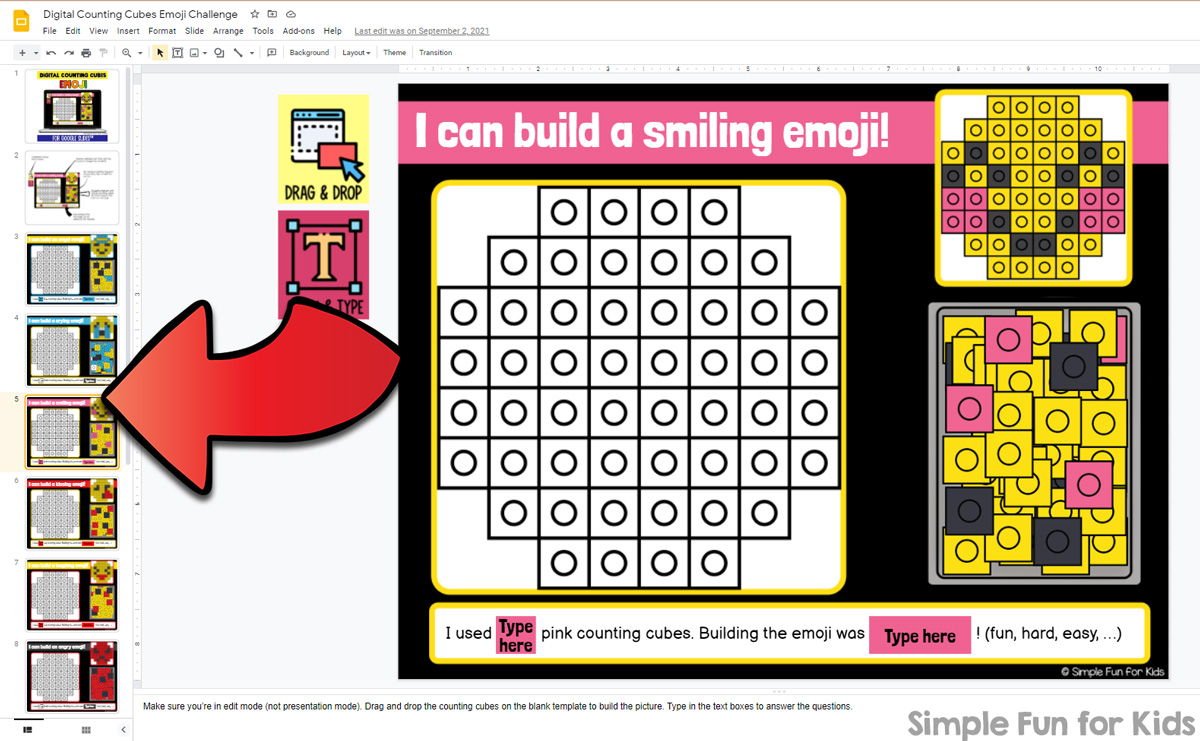
Most such digital activities will require you to be in edit mode. That means that by default, you’ll see thumbnails of all slides on the left-hand side. The technical name for this is “filmstrip”.
Why would I want to hide Google Slides thumbnails?
While the quick overview this provides is excellent when actually creating Google Slides, it’s completely unnecessary and even counterproductive while doing an educational activity.
Maybe seeing the filmstrip will give something away that’s supposed to not be seen until later. It’s always going to be distracting for students trying to focus on the lesson, and it takes up a lot of space and adds visual clutter for no good reason.
Is there an easy way to hide the Google Slides filmstrip?
Like me, you may have wondered if there’s a way to just hide the filmstrip. Luckily, there is!
Up until at least the end of 2021, there was no easy way to hide the thumbnails. The only two ways I found required using Javascript in a bookmarklet or a Chrome extension.
In 2022, Google has finally added this simple feature to the standard platform with one click.
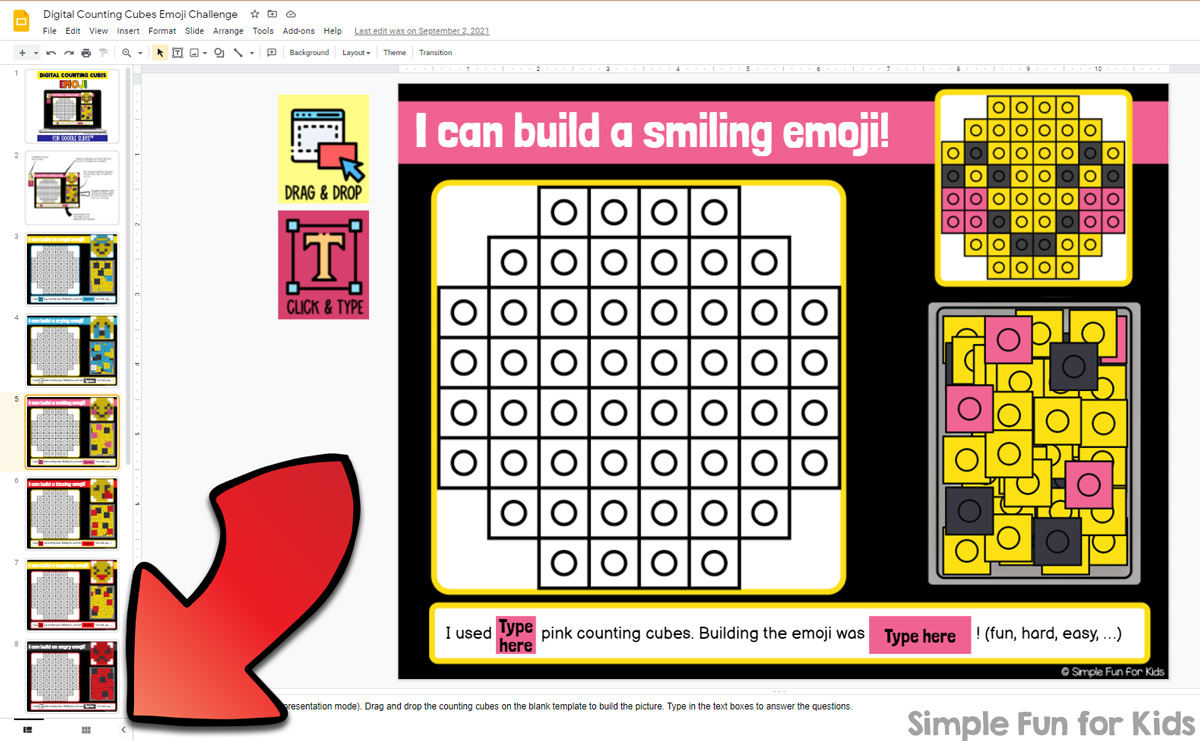
Simply click the small triangle at the bottom left edge to hide the side panel.
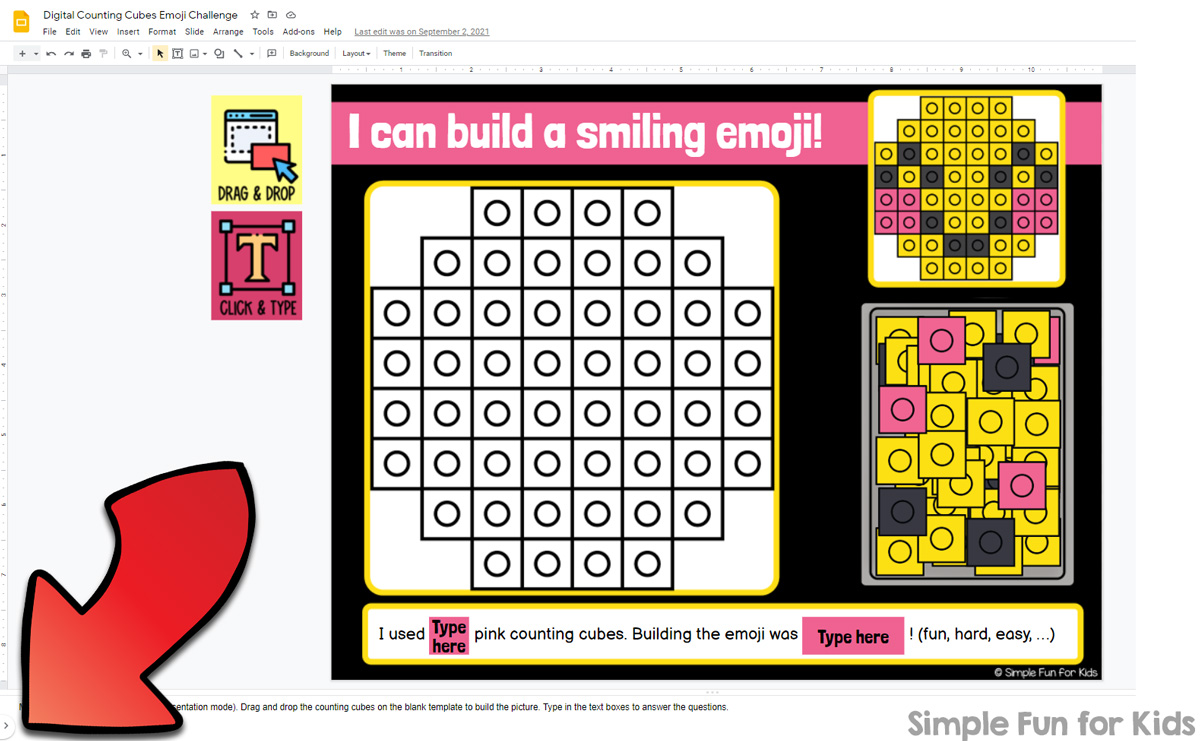
When you’re ready to show the thumbnails again, locate the inverted triangle that’s now at the bottom left corner and click it.
So easy, right?
Now you can easily hide the thumbnails in any of these Google Slides activities:


Digital Building Bricks 4th of July Build and Count Challenge
B is for Bee Digital Letter Find