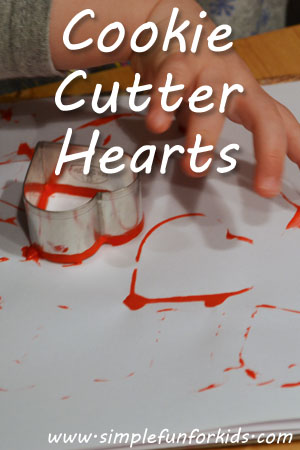
Cookie Cutter Hearts
You’ll need:
- Paper.
- Paint (we used tempera).
- Heart-shaped cookie cutter(s).
How to make Cookie Cutter Hearts:
- Place some paint in a bowl or plate that’s big enough to dip the cookie cutter in.
- Dip the cookie cutter in the paint.
- Stamp on your paper.
How it worked for us:
This is really a lovely idea, and E loves hearts but she didn’t really get into this activity. We tried it two days in a row but E was done after a few minutes both times.
She appeared to like the stamping itself, though, as she didn’t just turn it into a finger painting activity or improvised in another way. I guess it just didn’t seem to her like something she needed to focus on for more than those few minutes.
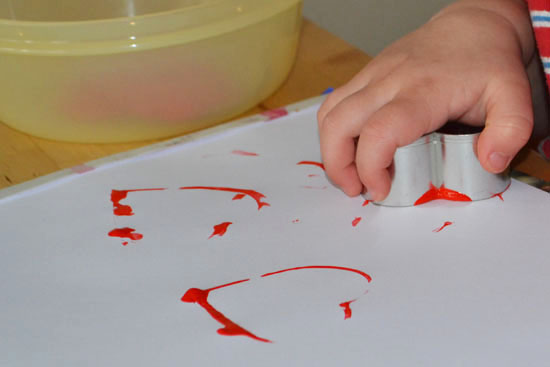
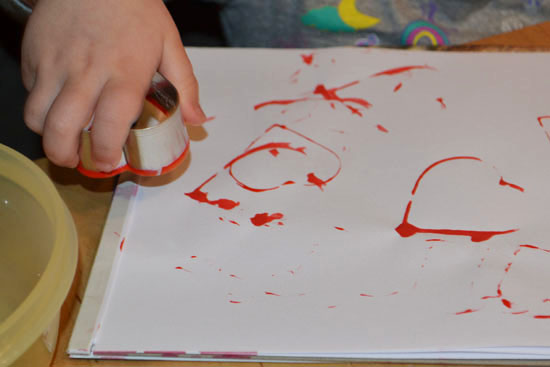
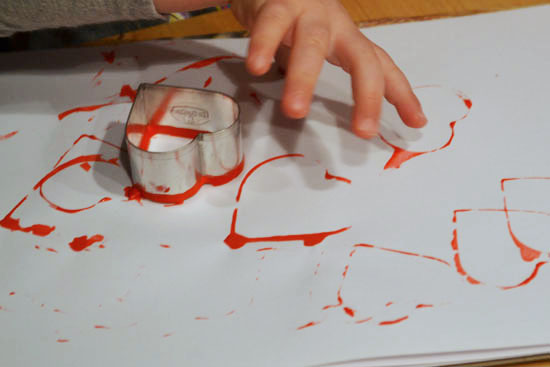
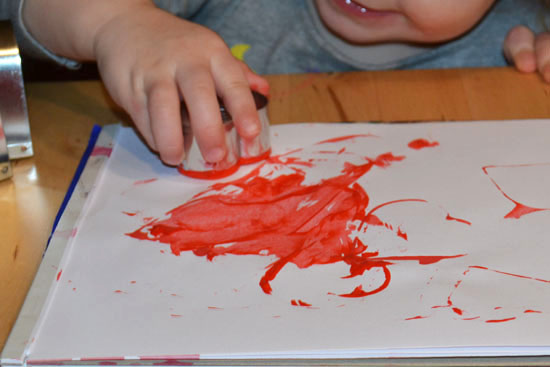
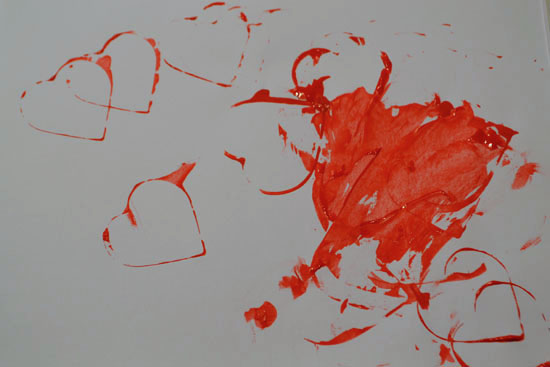
If your toddler gets into this process more than E did, you can end up with a really pretty hearts picture that’s completely kid-made – and I’m sure older kids would enjoy this as well.
What I learned:
- Really easy craft with very nice results, even if your child doesn’t focus on it for any length time.
- As far as paint activities go, this was really remarkably mess-free. This may depend on your choice of paint, though – the runnier it is, the more likely it is to splatter.
- At our house, we usually end up with E’s sleeves in the paint but this time, we avoided it by using a small plastic food storage container with higher sides to place the paint in.
Additional suggestions:
- Use different colors.
- Use cookie cutters of different shapes for different holidays or just for fun.
Inspiration: handsonaswegrow’s Cookie Cutter Painting for Valentine’s Day.
