
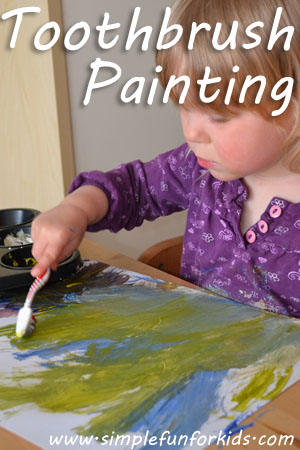
Toothbrush Painting
You’ll need:
- Heavy paper.
- Paint.
- Toothbrush.
- A small amount of water (optional, depends on the paint you use).
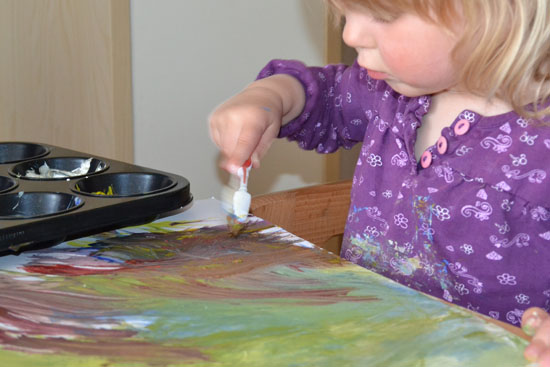
In my mind, we were going to try splatter painting when I handed E an old toothbrush in response to her wanting to paint. She had different plans, though.
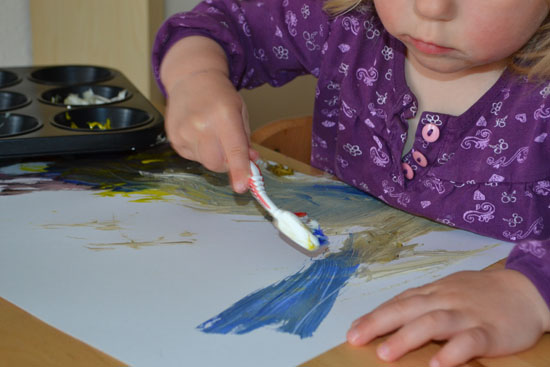
She saw the supplies and decided the toothbrush was to be used as a paintbrush.
I gently tried to explain how she could use it for splatter painting but she simply wasn’t interested. And that was just fine with me – it was HER art project, after all!
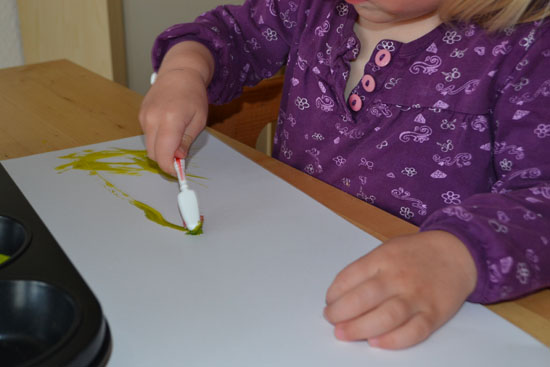
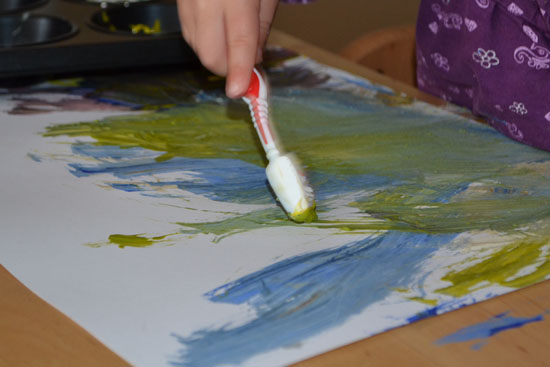
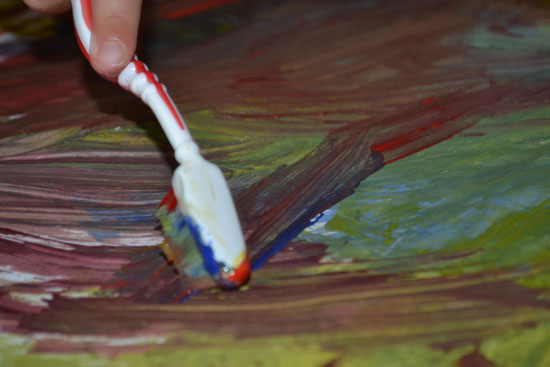
She really enjoyed this different way of painting and used lots of paint and all the colors
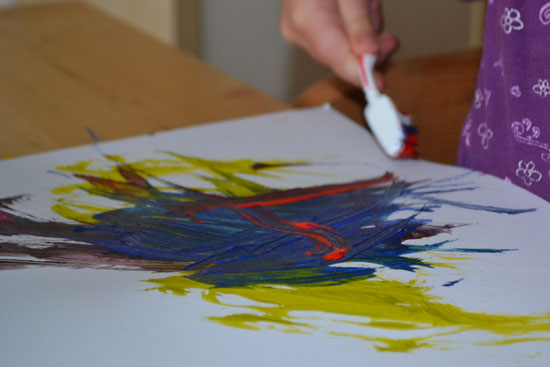
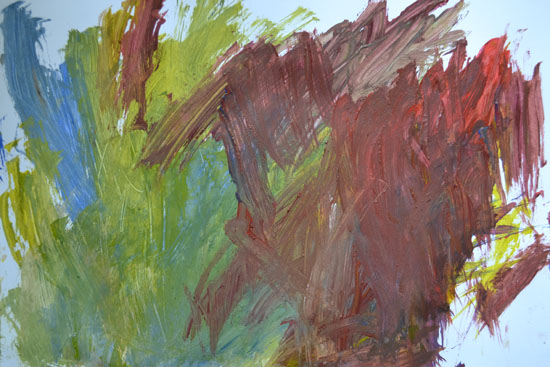
branched out to other areas of the paper after she’d covered the lower right-hand corner in quite a few layers of paint
and soon enough really started covering the paper.
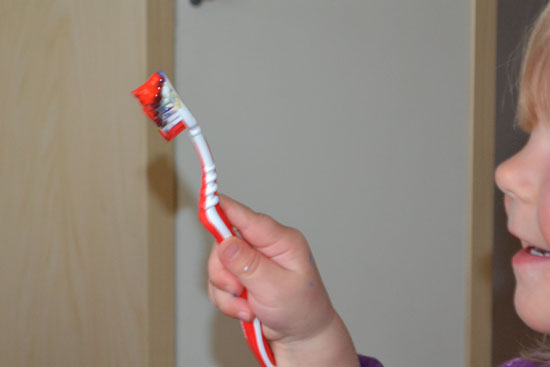
E thoroughly enjoyed her project, and proudly showed off her toothbrush to Papa, who came and joined us after a while.
E worked really hard on this painting, focusing for a full 30 minutes and painstakingly covering gaps between areas she’d already painted.
Finished toothbrush painting:
What I learned:
- E had no interest in putting the toothbrush in her mouth but you’ll want to supervise carefully to avoid any possible confusion.
- There was minimal mess involved in this project. A bit of paint ended up on her shirt {because she leaned over the paper}, and a tiny bit on her fingers but given that I’d gone into the whole thing pretty much expecting utter mayhem, it really was nothing.
- I’d watered down the tempera slightly in preparation for splatter painting but it was still a good idea even for the way E used her toothbrush. Don’t make it too runny, though, to make sure the bristles leave scratches that really add to the project.
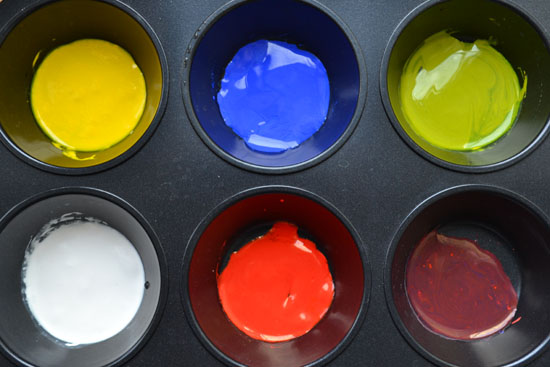
- E didn’t mind but it would’ve been easier to get paint on the toothbrush if I’d used paint containers with larger openings rather than the muffin tin.
Additional suggestions:
- Obviously – splatter the paint if your kid is interested 😉
- Use a clean toothbrush {or wash the paint off the same toothbrush} to make extra marks in the paint after painting the paper.
- Use an electric toothbrush {we have one we’re about to throw out, and I think she’d get a kick out of it}.
Inspiration:
Toothbrush Splatter Painting from hands on : as we grow – they did it for Easter.
Have you tried toothbrush painting? How did it go? Tell me about it in the comments!
If you liked this post, come follow me on Pinterest to keep up to date with all we do, and for lots of great ideas from others! Or like and drop me a line on my Facebook page, where I share my own posts and those of others every day!
What age range would you most likely recommend this activity to ?
My daughter was almost 2.5 years old when she did this activity. I’d say as long as your child doesn’t put the toothbrush in his or her mouth, he or she is old enough to try this. My daughter is 5 now, and I think she’d still get a kick out of it 🙂