Pour Painting Pumpkins
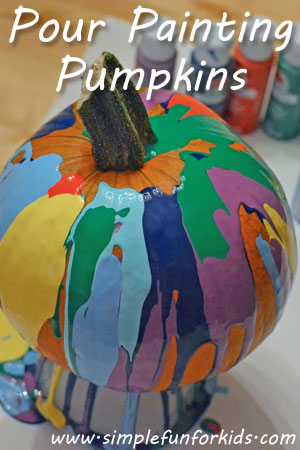
Pour painting pumpkins is a classic technique that worked perfectly to decorate E’s entry to the big pumpkin exhibition at her school! E really enjoyed both the process and the result, and I was very impressed with how well she paced herself.
(E was 35 months old.)
This post contains affiliate links for your convenience. Thank you for your support!
For pour painting pumpkins, you’ll need:
- Pumpkin.
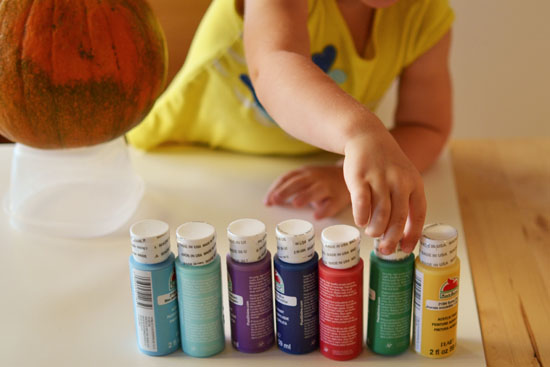
- Acrylic paint.
- A bowl, cup or similar that the pumpkin can sit on (optional).
- Heavy paper, several layers of newspaper, foil or a tarp to cover the area around the pumpkin.
Note: Acrylic paint is not washable and you won’t get it out of fabric after it dries. I’ve had good luck with simply wiping small dry spots off our table and E’s high chair with a sponge, though, even several that I didn’t discover until a few days later. I was even able to pull the paint off the bowl. You should be okay with most non-porous surfaces, and you can wash it off skin fairly easily as well but make sure to wear clothes that you don’t mind having end up with a few acrylic “decorations”. We used acrylic paint because it sticks to the pumpkin better than washable paints do. It’s up to you to decide if your child is ready for it or if you’re better off going with more easily washable types of paints.
I pretty much expected E to just squeeze out as much paint as she possibly could, so I went with 2 ounce bottles of acrylic paint to impose a natural limit on how much paint she could use. They’re also a great size for little hands. As it turned out, she didn’t come close to using all the paint, and was actually very meticulous and mindful about which color went where and how much she used.
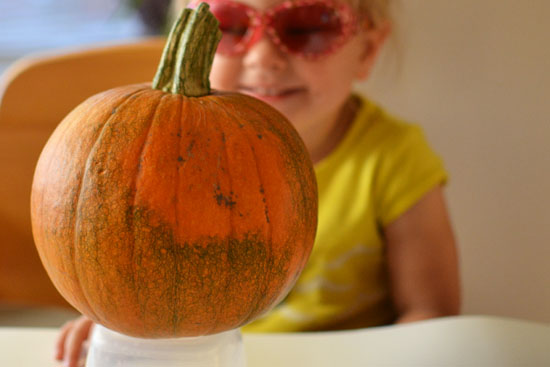
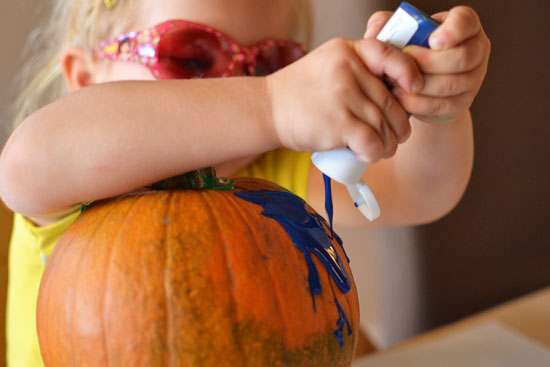
We were originally going to do this outside but once again, it was too windy, so we took it inside to our dining room table. No reason for E to take off her sunglasses, though 😉
I set some ground rules, mainly concerning using one color at a time, putting the lid back on and putting the bottle back before grabbing a new color, and generally trying to keep the paint off her hands and clothes. {I didn’t expect her to be perfect with keeping the paint off, even I ended up with some paint on my hands. I just wanted her to realize that this is not the kind of paint for finger painting and general sensory exploration.}
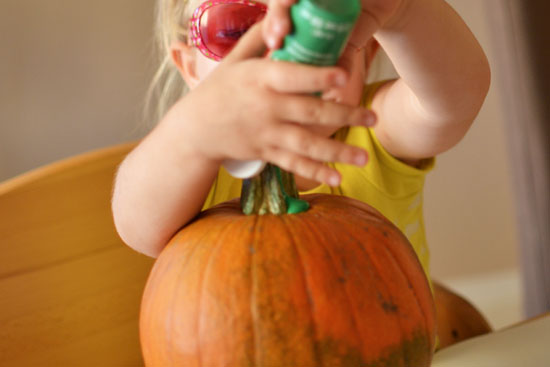
She started out with a penchant for painting the back of the pumpkin
but after this “incident” {note her elbow in the green paint on the side of the pumpkin}
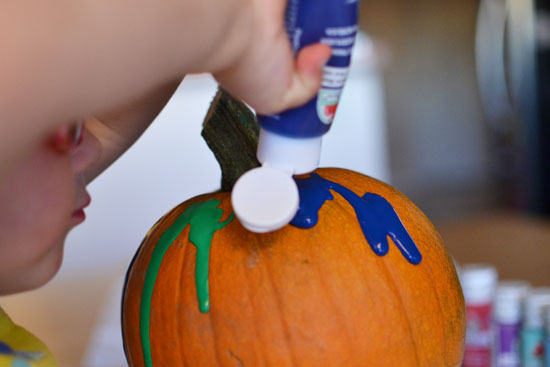
and my gentle reminder that I could turn the pumpkin for her, she stuck to the front and asked when she wanted to paint a spot she wasn’t able to reach easily.
She tried different hand positions
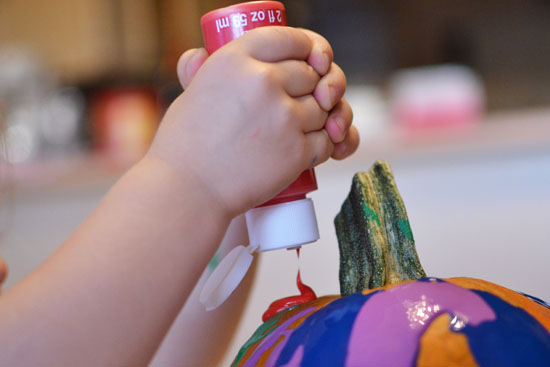
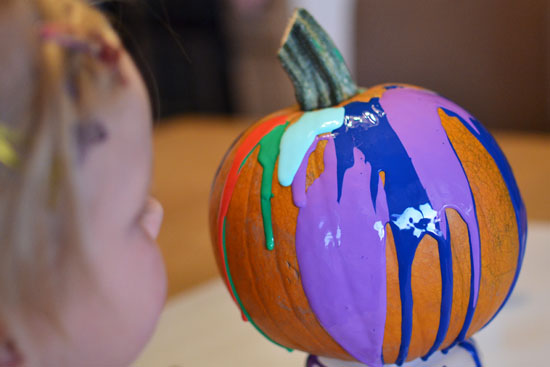
and took quite a bit of time to just look at the paint running down the sides of the pumpkin and plan her next move.
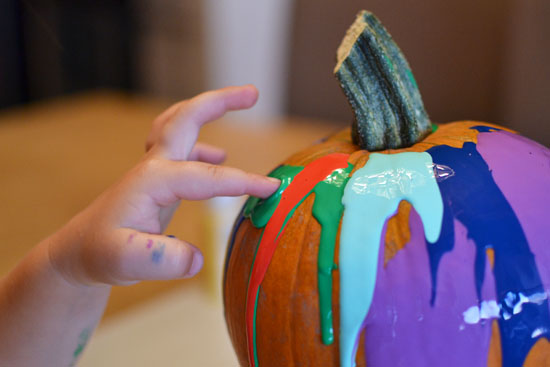
This was the only time she couldn’t resist and stuck her finger in there.
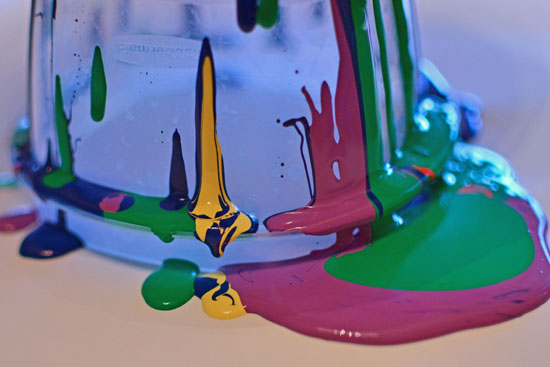
I love how the paint puddled at the bottom of the overturned bowl.
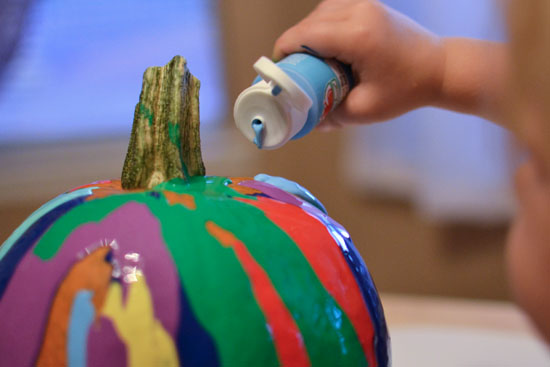
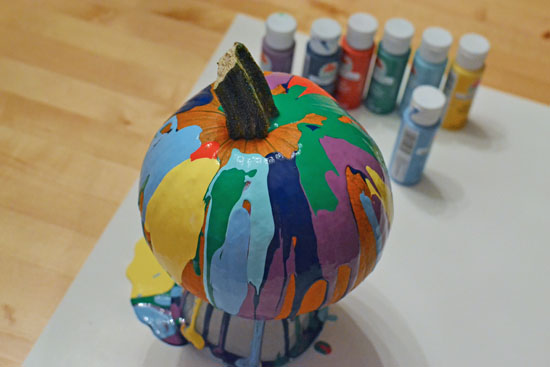
Here’s the finished pumpkin:
I was a bit concerned about the length of time it would take to dry but to my surprise, the paint on the pumpkin was mostly dry the next morning (after little more than 12 hours). The advantage of the paint running down is that it doesn’t get incredibly thick. The puddle at the bottom took quite a while longer to dry completely. We didn’t handle the pumpkin until 3.5 days after we painted it, and E was able to carry it around and take it to school with no problems.
Additional notes:
- You can do it this with any kind of pumpkin. I really wanted to use a real pumpkin because of the exhibition, and I wanted it to be small enough for E to carry around but if you use a craft pumpkin, you can pull it out every year, and a larger pumpkin would look great as well.
- If you don’t have acrylic paint, you can make your own by mixing tempera paint and glue.
- If you’d rather not take the chance with acrylic paint, the process will be just as much fun with other types of paint, and if you don’t handle the pumpkin too much, the paint should still stick to it for a while.
How have your kids decorated their pumpkins this year? Leave a comment!
If you liked this post, come follow me on Pinterest to keep up to date with all we do, and for lots of great ideas from others! Or like and drop me a line on my Facebook page, where I share my own posts and those of others every day!


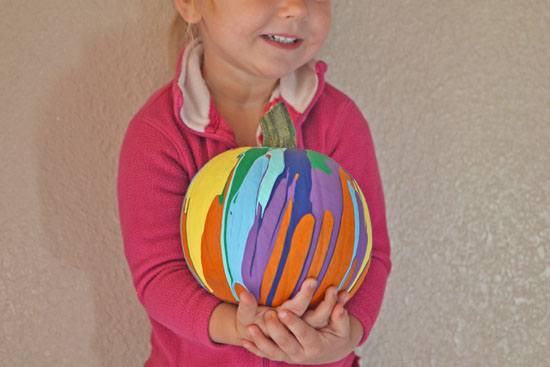
I love how the pumpkin turned out! What a rainbow of colors!
Thank you, Deirdre! It’s such an easy technique but turns out SO NICE.
Love love how it turned out! We did glitter glue/ googley eyes this year, but we’ll have to do this next year!!
Thank you, Kristina! I was thinking of adding glitter, too, but then she got so into it that I forgot all about it – and I don’t think we missed out. I’m sure we’ll do it a bit differently next year, too.