Color Matching with Bottle Caps
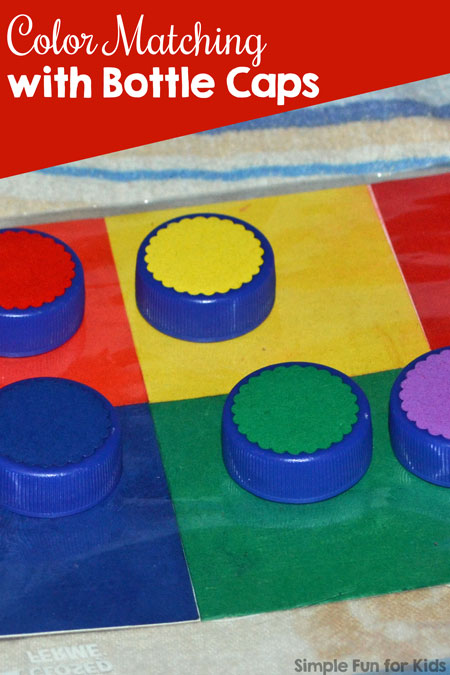
(E was 2 years and 2 months old.)
You’ll need:
- Bottle caps.
- Colored paper.
- Glue.
- A piece of cardboard.
- Cutting knife, scissors or similar.
- Hole punch (optional).
How to make your own Bottle Cap Color Matching Game:
- Glue (or stick) colored paper to bottle caps.
- Glue (or stick) paper in the same colors to a piece of cardboard.
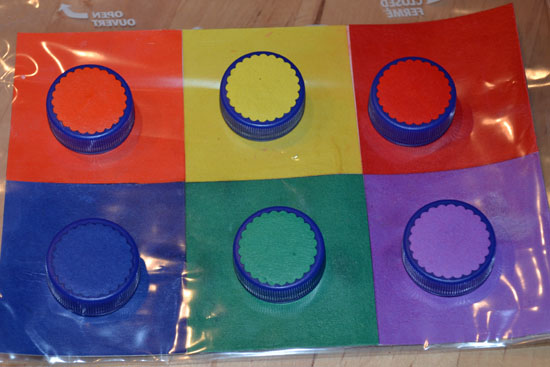
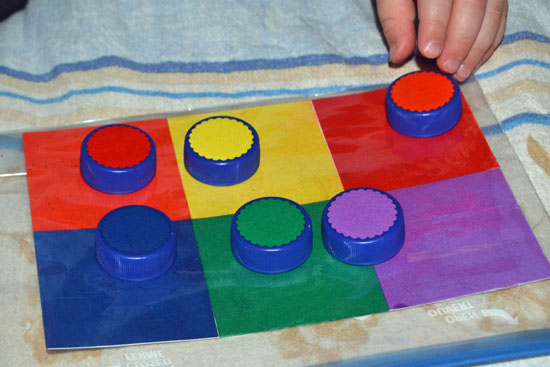
- Have your child match the colors on the bottle caps to the colors on the cardboard.
Photos:
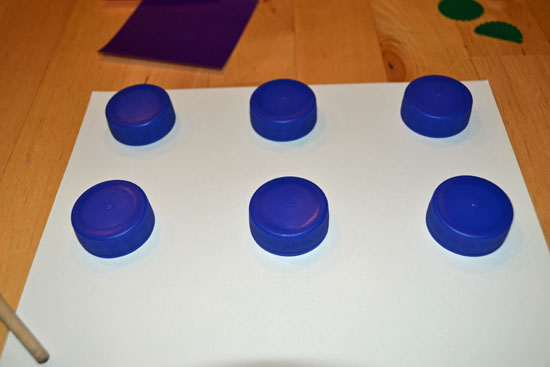
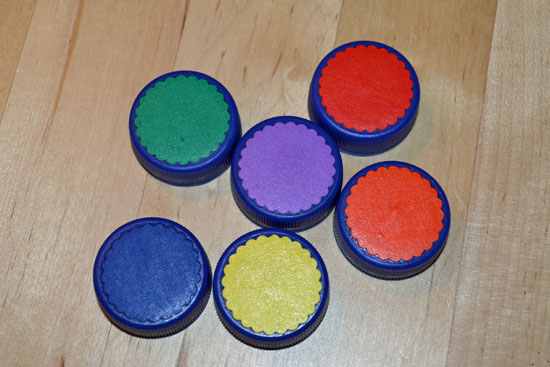
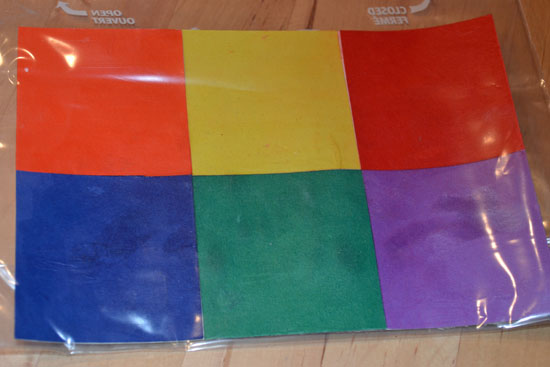
How it worked for us:
This was fairly easy to do, and the bottle caps are a good size for toddler hands.
I punched the circles that I glued to the bottle caps from colored paper (120 g/m²) with a 1-inch scallop hole punch. I used a ModPodge knock-off on top of the bottle caps and on top of the colored paper.
For the board, I cut 6 cm squares from the same colored paper with the help of the marks on a cutting mat, straight edge and utility knife. The board didn’t come out perfectly {not surprisingly, given the basic tools I used…} but E couldn’t have cared less.
I had some trouble keeping the colored squares on the cardboard with the ModPodge knock-off, so I decided to keep the board in a Ziploc bag to avoid E trying to pull off the squares. After a few hours of applying pressure to the board, the bond has improved greatly but I still keep it in the bag at all times just in case. {As soon as I finally get a laminator, I’m gonna laminate the heck out of it.}
Either way, it’s a built-in busy bag we can take wherever we go where we might need something for E to do 😉
This was E’s first color matching activity {Well, the first one where she actually matched the colors… With my first version of the Clothespin Color Matching Game, she only focused on the pins, not the colors, for a long time.}, and she got the hang of it right away. She really enjoys matching the colors, and never only does the game once 😉
{In the picture above, she’s not sure about the red and orange but that’s because I didn’t realize it would be really hard to tell them apart in low light conditions.}
I wasn’t sure if the squares were big enough to allow her to match all six colors at the same time but there’s actually plenty of room for her hands.
What I learned:
- It’s fun to see with how much enthusiasm E plays this game, and how happy it makes her to match the colors.
- Make sure red and orange aren’t too close on the paper you use.
- ModPodge (or at least my knock-off) does warp paper and cardboard and isn’t the best choice for these materials but a few hours under a big cookbook fixed all issues.
- For the board, the paper could’ve been a tad heavier than the 120 g/m² I used, but it was perfect for the bottle caps.
- You cut better squares with better tools. {Well, I already knew that, but it was a good reminder 😉 }
The idea:
There are many ideas for color matching games and for using bottle caps on the Internet. I was inspired to use this technique by this post but since E wasn’t ready for letters yet, I simply applied it to colors.
Which color matching game(s) does your child like? Have you made one yourself? Tell me about it in the comments!
Click here to subscribe to my newsletter and receive an email twice a week with news from our house and links to all new posts! If you prefer daily updates, you have the option of subscribing to my RSS feed or my printables RSS feed on the same page.
Join me in my Facebook group where we discuss simple play ideas for young kids every day!

One Comment