

{Very Sandy} Sand Slime
I recently read a post on Growing a Jeweled Rose about Sand Slime that I really enjoyed. It’s always fun to discover new sensory materials!
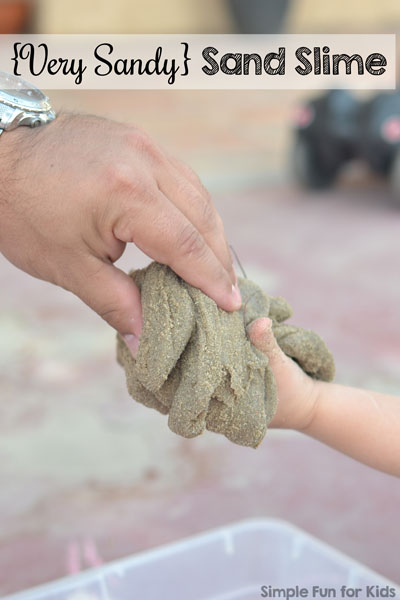
A few days later, I overheard a conversation between my husband and daughter in which my husband helpfully pointed out that you can’t cut sand, and a light bulb went on over my head: You most certainly can cut sand slime!
I knew we just had to make sand slime – I figured enough time had passed since our failure last time we tried to make slime to give it another try 😉 {Click here to read about our Glitter Slime Fail! }
(E was 3 years and 6 months old.)
This post contains affiliate links for your convenience. Thank you for your support!
Materials for {Very Sandy} Sand Slime
- Sand. {Any kind will do, beach sand or play sand; colored sand would be fun, too. Given that you’re about to mix it with liquid starch and glue, it doesn’t really have to be super clean.}
- 1 cup of liquid starch.
- 2 bottles of clear Elmer’s Glue.
- Bowl, bucket, sensory bin, something to hold the sand slime while you mix it.
Note: Given the materials, this slime is in no way edible, and I wouldn’t recommend using it with any child likely to want to have a taste. Hands should be washed thoroughly after playing with sand slime.
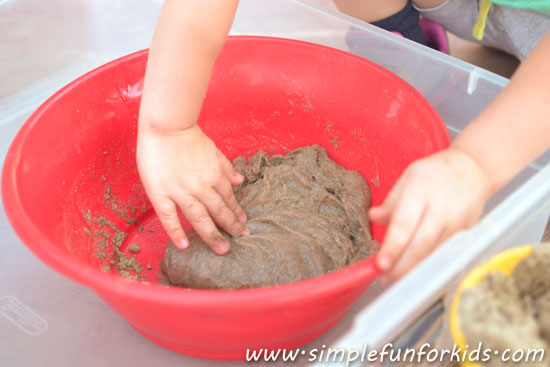
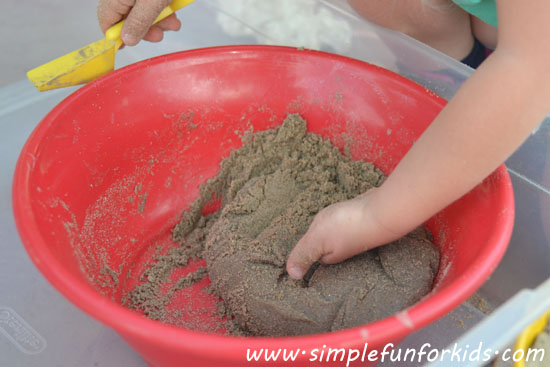
I put the glue and liquid starch into a bowl that I set in our sensory bin before adding two small shovels full of sand. I used sand from a bucket that E had presented to me earlier as a “cake”, so there was a lot more sand nearby than I thought we were going to need. E disagreed – but first, she started mixing the materials I’d put into the bowl.

The sand slime came together fairly quickly
and E started adding more sand on her own. The slime firmed up thanks to the extra sand, and E patted it into the bowl and talked about how it looked like meat – don’t ask me where in the world she has seen meat in this particular shade of brown 😉
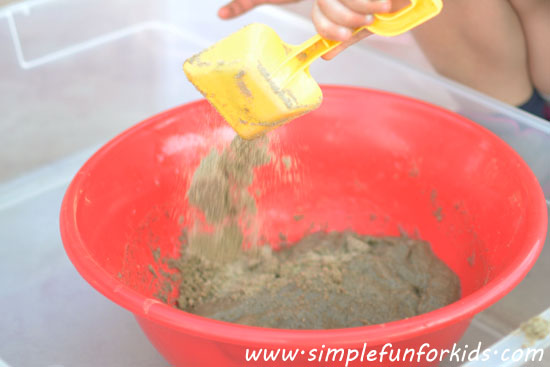
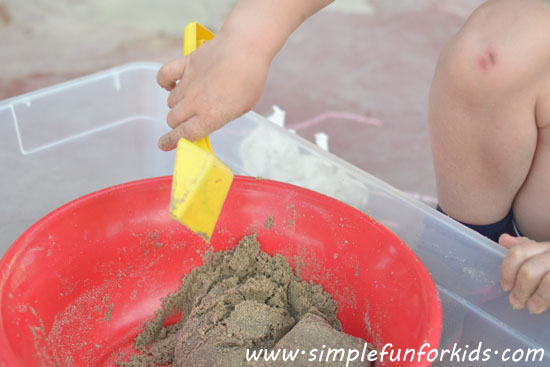
She still wasn’t satisfied with the amount of sand and added a few more shovels full.
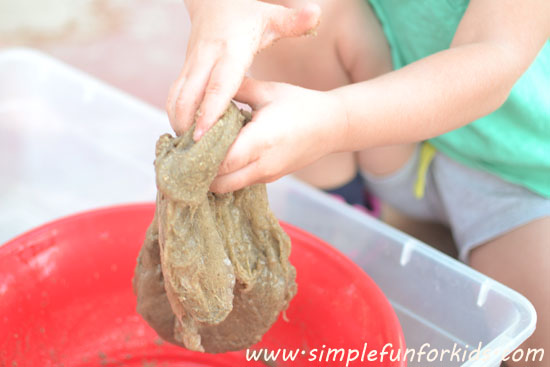
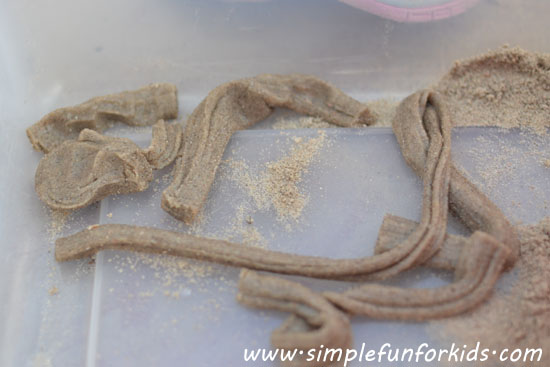
Despite all that sand, the slime was still nice and stretchy.
Still, E spent most of her time kneading the slime
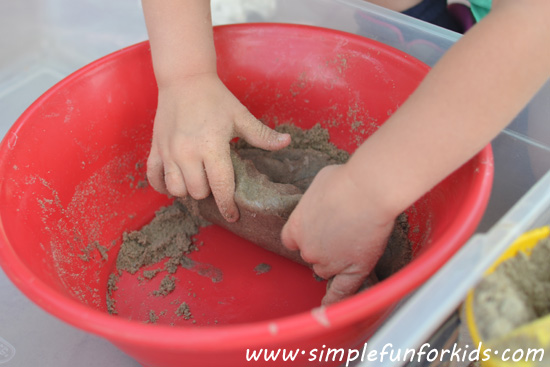
and, yes, adding yet more sand.
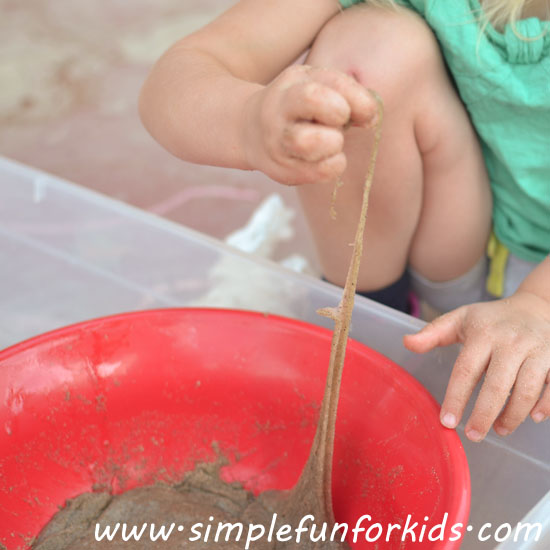
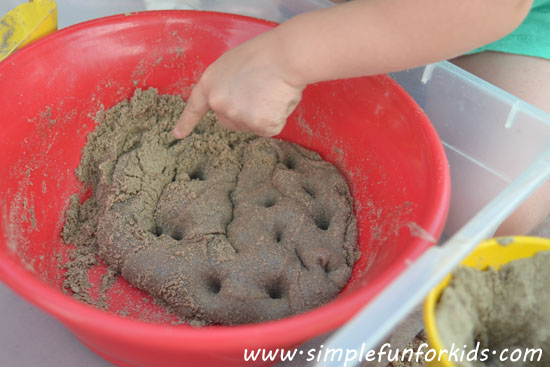
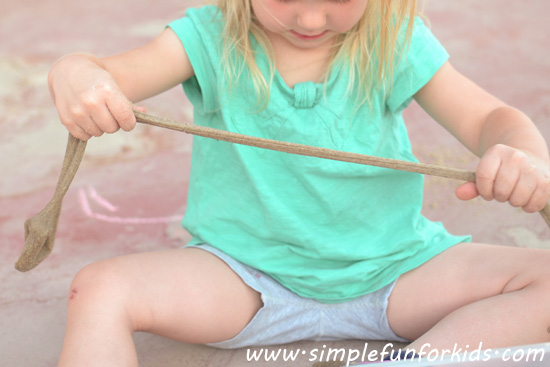
She tried to “cut” the slime with her shovel but wasn’t very successful, as it was quite firm by now.
She stuck her hand in
and noticed that she was able to poke holes in it – she thought that was a lot of fun!
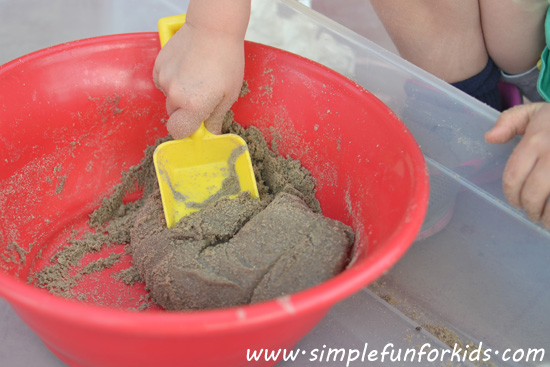
There was still sand in her bucket, so she kept adding it until she ran out.
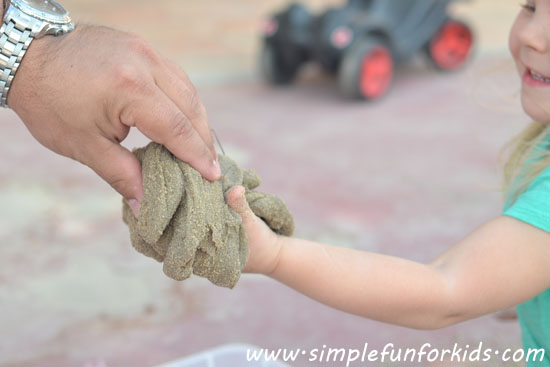
Once all the sand was in the bowl (she didn’t end up mixing it completely), she proudly asked Papa to touch her sandy sand slime. He was pretty surprised by how it felt, as he’d been skeptical about the glue and starch to begin with 😉
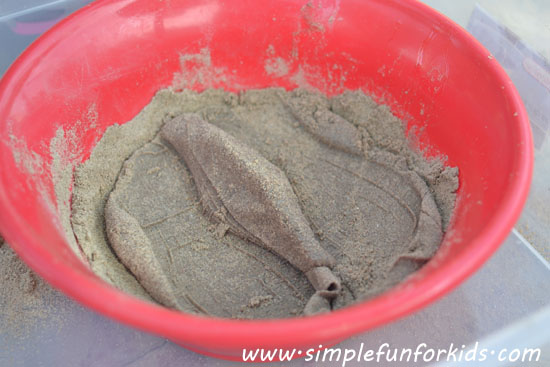
The slime was now pretty much a play dough consistency, and E spent some time making balls and “carrots”.
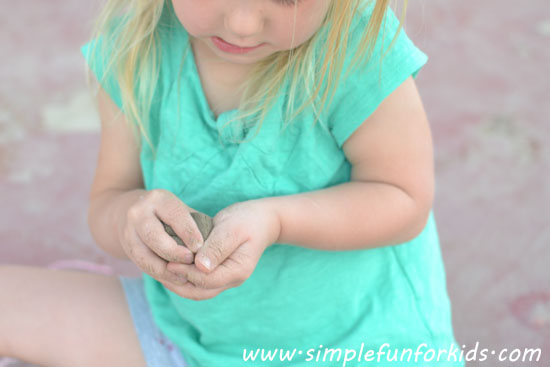
And then she started stretching it out again – to my surprise, it was still really stretchy!
The only thing I noticed compared to the posts I’ve seen about more traditional slime was that it didn’t ooze back into an amorphous mass once it was no longer handled. It pretty much stayed stretched out – at least until E turned it back into a big ball of slime 😉 {Edit: The next day, I found out that it does still ooze, I guess the sand just makes it stable enough to take a longer time for the slime to do it.}
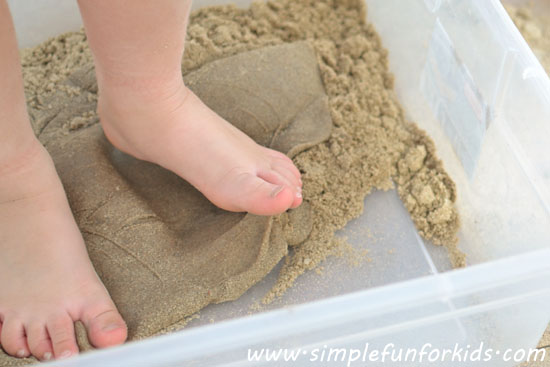
Next, E decided to try and stand on top of the sand slime in the bowl. It wasn’t easy for her to keep her balance, and I had to steady her a few times. It was both the size of the bowl that barely fit both her feet, and the fact that the slime was moving under her feet that made it hard to remain upright.
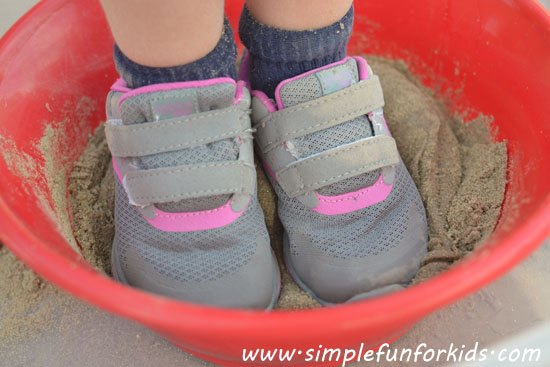
To make it a bit easier, I suggested we dump the slime into the sensory bin, and E decided that in that case, she may as well take off her shoes and feel the slime with her bare feet 🙂
Our sand slime was a huge hit – even if we didn’t get around to doing cutting practice with it, as I’d initially planned. I left it in the sensory bin and put the lid on, though, so I expect the sand slime to be good to pull out again whenever we feel like it. And despite the decidedly non-traditional amount of sand that went into it, I was very happy to find the slime just as stretchy as expected 🙂
Have you made slime? Do you use sand for sensory activities? Leave a comment!
Click here to subscribe to my newsletter and receive an email twice a week with news from our house and links to all new posts! If you prefer daily updates, you have the option of subscribing to my RSS feed or my printables RSS feed on the same page.
Join me in my Facebook group where we discuss simple play ideas for young kids every day!
That must be such an interesting texture! My daughter surely would have ended up with her feet in the bowl too! lol!
The texture was definitely different, Emma! Thanks for leaving a comment 🙂
How long did it “keep”? I was wondering if this is a reusable item or if it dries out after a day?
Truth be told, the lid on our sensory bin wasn’t on as tight as I’d thought, so it did dry out a bit. It would’ve kept a lot better in a Ziploc bag or other airtight container, and that’s where it’ll go next time we do this.
Do you think it would work if you substituted water/borax for the liquid starch?
Check out this slime recipe using borax from Growing a Jeweled Rose, sounds like it would work with sand as well. Good luck, and let me know how it works for you!
I’ll be doing this with my class this next week for sure. It will go along with our pirate/ocean/beach/tropical theme so very well! Thanks for sharing!
Awesome, let me know how they like it!
of course i read this post 15 minutes before i had to be at work…i am a preschool teacher…and of course i immediately went ot the cabinet in search of liquid starch and glue. i used white glue and guessed the measurements and it was AWESOME! we made another batch today as there was a larger group of children and half of the slime ended up in the sandbox as they were in need of “concrete” and the other half became a beautiful “hatibat” for faires. totally cool. thank you for sharing!
Yay, so great they liked it, and that they found such creative uses for it!
sounds great what do i use living in britain
Hi Theresa, so glad you like it! Check out this fabulous post from Fun at Home with Kids for alternative ingredients!