Resist Art Snowmen
E’s love for snowmen is still going strong. We’ve done many fun snowman crafts and activities, and the other day, E once again asked to paint with a snowman theme. For some reason, I immediately thought of resist art – we had only tried it once before when we did Sticky Tape Resist Initials pretty much exactly two years ago. I asked E if she wanted to give it a try, and while I’m not sure that she really knew what I was talking about, she said yes right away 🙂
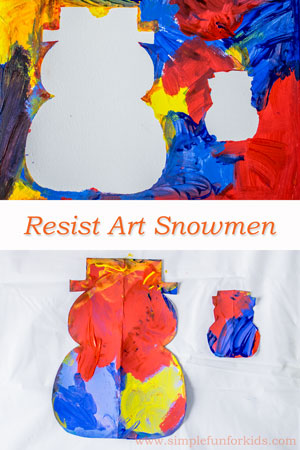
(E was 4 years and 2 months old.)
This post contains affiliate links for your convenience.
Materials for Resist Art Snowmen:
- Watercolor paper.
- Card stock. {If you don’t have card stock, use whatever you have on hand. I tried to use a thickness that was relatively easy to cut but didn’t warp too easily. However, anything that will cover the paper in the spots you don’t want painted will work.}
- Tempera paint.
- Paintbrush(es).
- Scissors.
- Glue stick.
- Pencil.
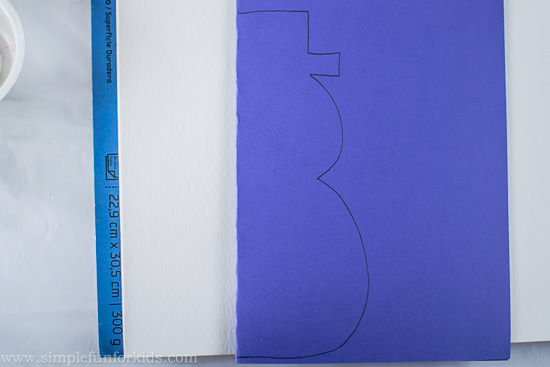
I folded a piece of card stock in half {E wanted purple} and drew half a simple snowman on it.
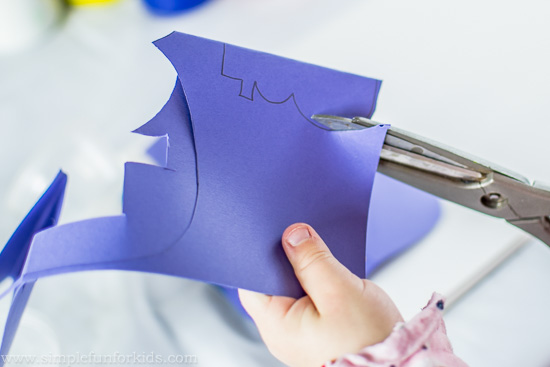
While I cut it out, E was begging to get her own snowman to cut out. No problem 🙂
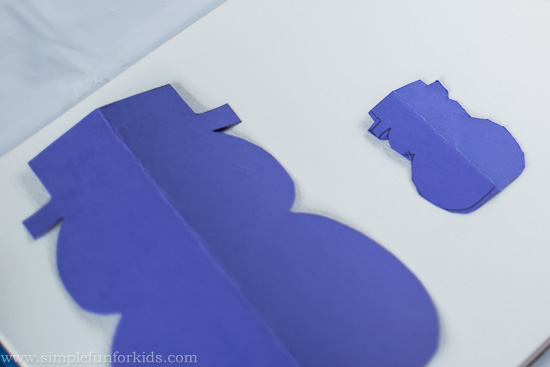
We worked together to arrange our “mommy snowman and baby snowman” (E’s words) on top of the watercolor paper. {Didn’t she do a GREAT job cutting out the baby snowman?!}
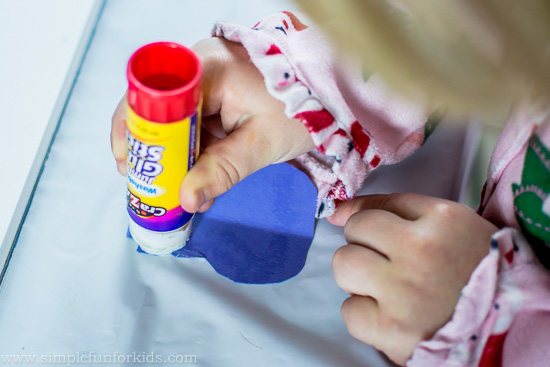
We each stuck on our “own” snowman with a little bit of glue from a glue stick. You want it to stick well enough to give the resist art effect but not so well that you have trouble removing it later.
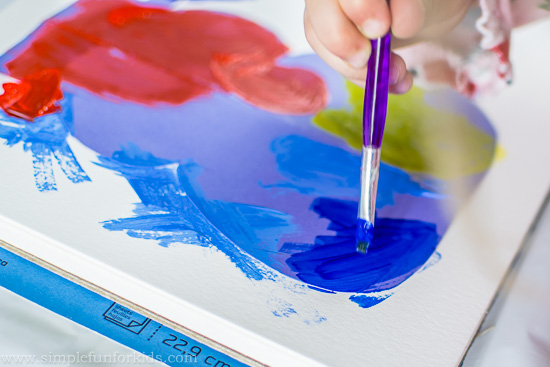
At first, E just wanted to paint the snowman cutouts.
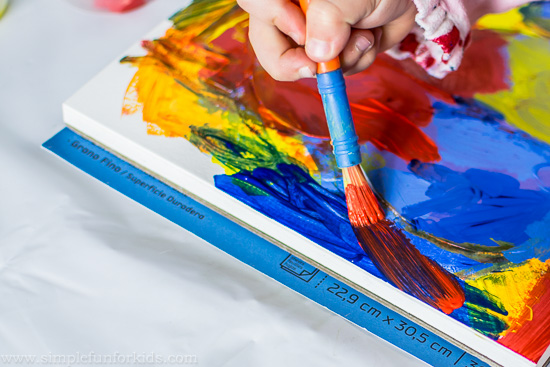
I encouraged her to paint the rest of the paper as well and tried to explain about resist art, and when she was done painting the snowmen, she decided to go with it and painted pretty much over all white spots.
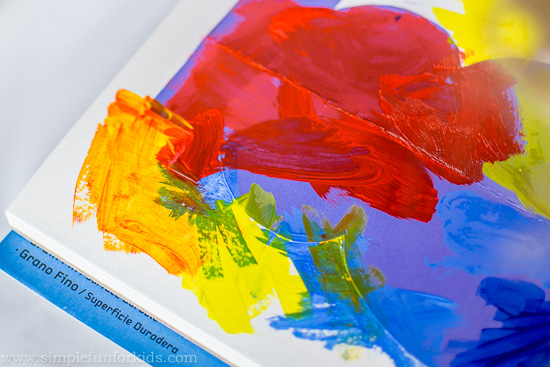
We observed how the colors mixed “by accident” and talked about wet and dry paint and how it affected whether the colors mixed easily.
This inspired E to purposely create purple in one area.
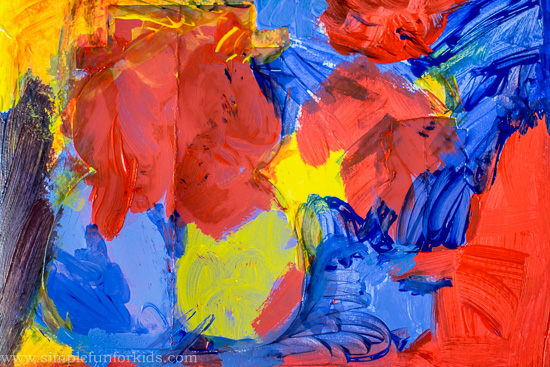
Her finished piece of resist art:
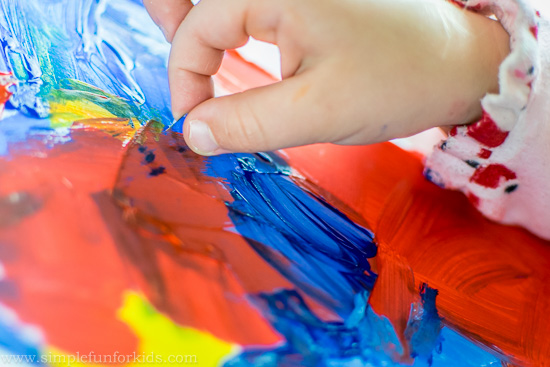
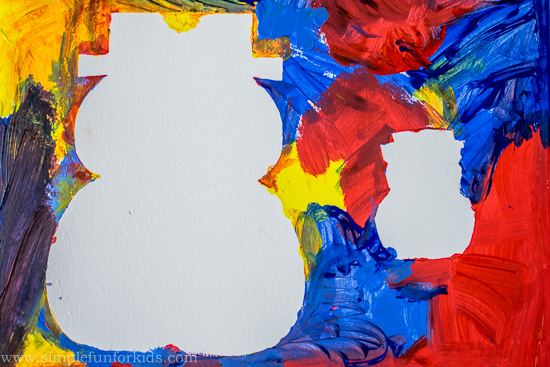
I explained to her how to gently pull off the stencils, and she did great. {You may want to let it dry a bit to reduce the risk of the stencils tearing when you pull them off. Most of our paint had already dried by the time E decided she was done.}
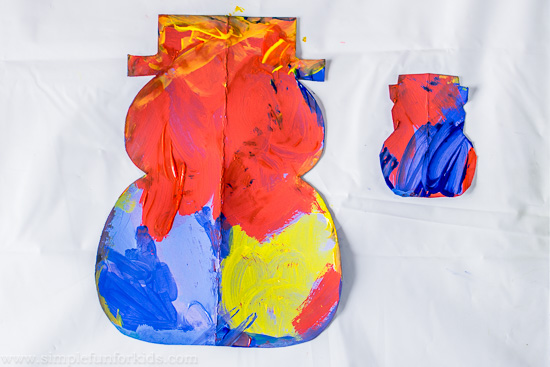
We ended up with two works of art in one – resist art plus colorful snowman stencils!
Have you done any resist art lately? What’s your favorite technique? Leave a comment below, and feel free to leave a link if you’ve written about it!
If you like this post, click here to subscribe to my newsletter and receive an email once a week when new posts are published, or to my RSS feed.
Also make sure to follow me on Pinterest to stay up to date with all we do, and for lots of great ideas from others!
If you prefer Facebook, I’d love to connect with you there: Like and drop me a line on my Facebook page, where I share my own posts and those of others every day!
