Puffy Snowmen with Shaving Cream and Glue
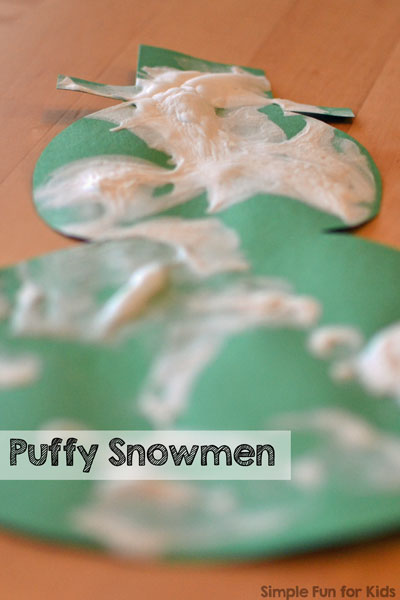
Painting with Shaving Cream Puffy Paint is a very popular activity – both with my readers and with my daughter! For the current season, I was planning on using the technique for puffy Christmas trees but when I told E about the idea, she said “No, snowmen!” And just like that, Puffy Snowmen it was!
(E was 3 years and 1 month old.)
This post contains affiliate links for your convenience.
To Make Puffy Snowmen, you’ll need:
- Shaving cream.
- White glue.
- Paintbrush (optional) or something to stir the paint.
- Paper plate.
- Construction paper or heavier.
- Pencil.
- Snowman template.
- Scissors.
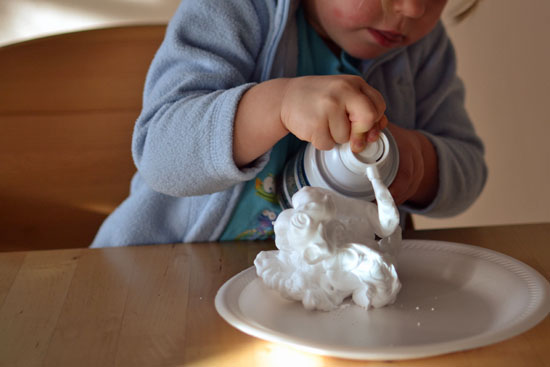
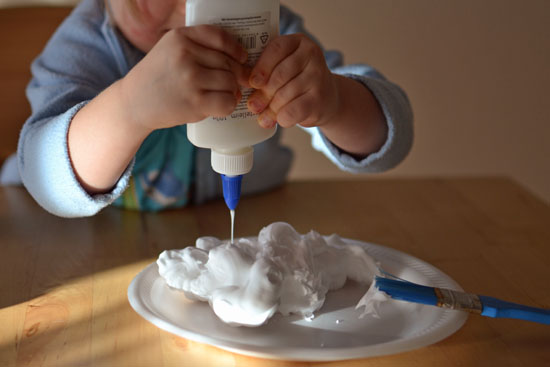
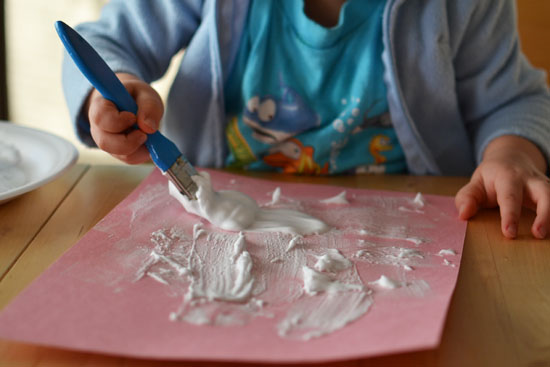
E mixed shaving cream and glue and was quite self-sufficient with the whole thing.
She may not have hit the “ideal” proportions of equal parts shaving cream and glue but it worked out fine.
I asked her if she wanted me to draw a snowman for her that she could paint over but she told me she wanted to paint her snowman herself.
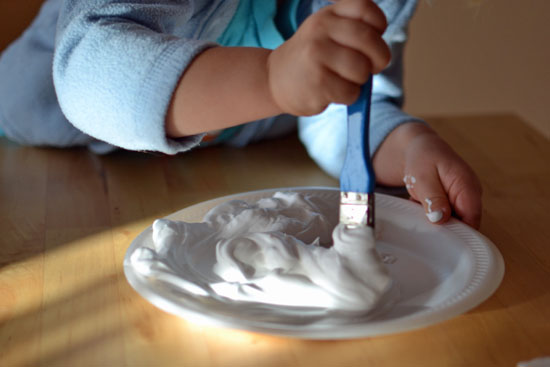
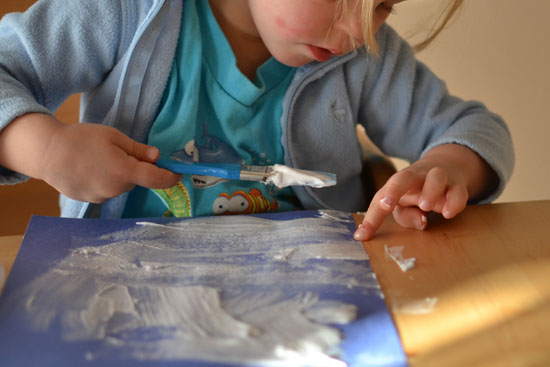
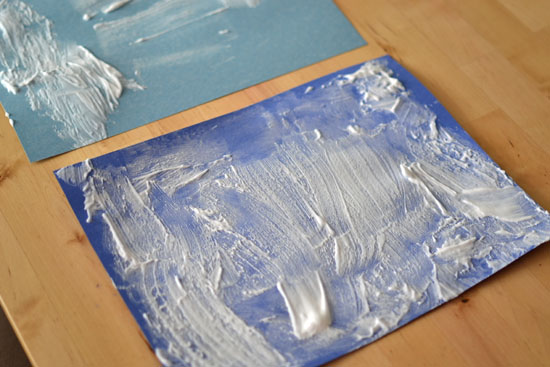
At first, she painted shapes but ended up covering entire sheets. She was very meticulous about getting into all the corners.
She used the paintbrush for everything, so most of the puffy paint got flattened but I left her to her own creativity.
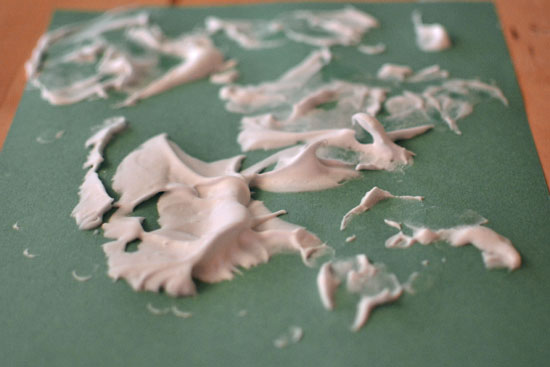
She still ended up with lots of structure to her paintings.
She covered sheet after sheet and loved it.
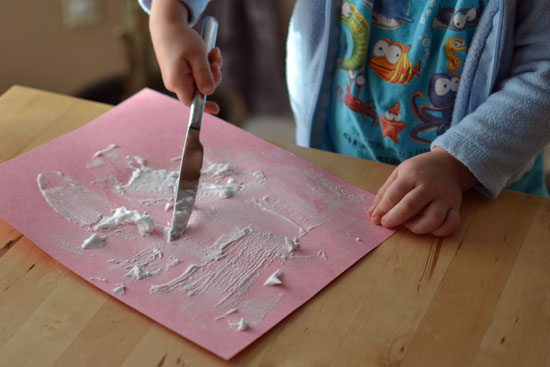
When she told me she was done, I left the sheets on the table to dry while I turned around for a minute. Suddenly, I heard her say “I scrape!” – she’d grabbed the knife we’d used to scrape our Scented Marbled Candy Canes with and started to scrape off the puffy paint 🙂
I reminded her that we needed to leave the puffy paint on if we wanted puffy snowmen, and she decided to re-paint the sheet.
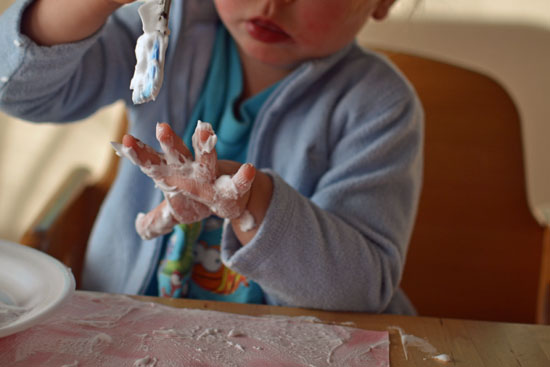
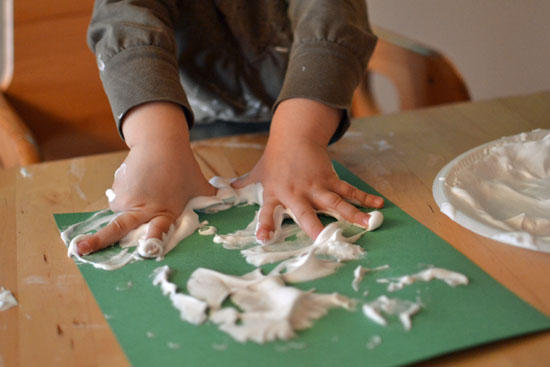
She finished off this project by painting her hand with puffy paint {on both sides 😉 }
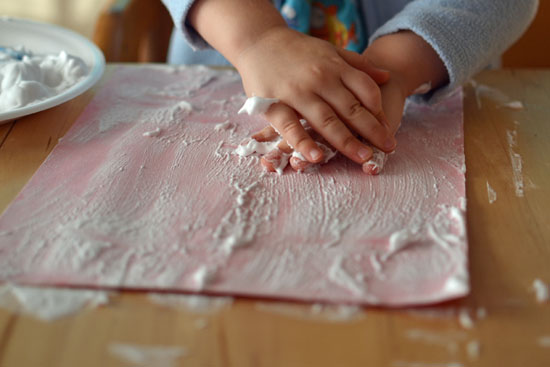
and making a handprint on her sheet.
The next day, she asked to make more puffy snowmen.
On the first few sheets, she used her technique from the day before and painted everything with her paintbrush.
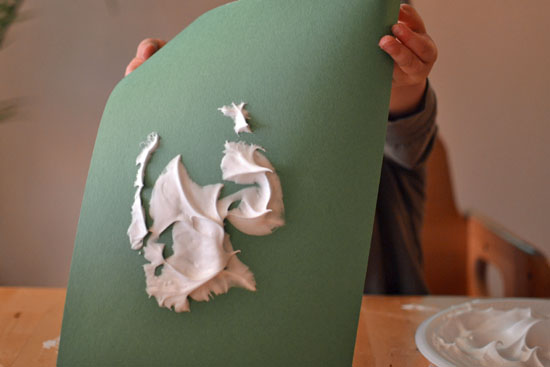
For the last one, she decided to do it differently and started by pushing the paper down on top of the puffy paint and pulling it off to make a print {again an idea borrowed from her beloved marbled shaving cream crafts like Marbled Christmas Trees.}
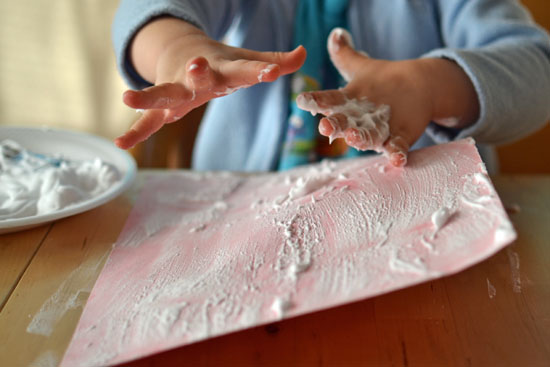
She then got her hands into the puffy paint and made finger and handprints, then wiped her hands over them.
This sheet turned out really puffy!
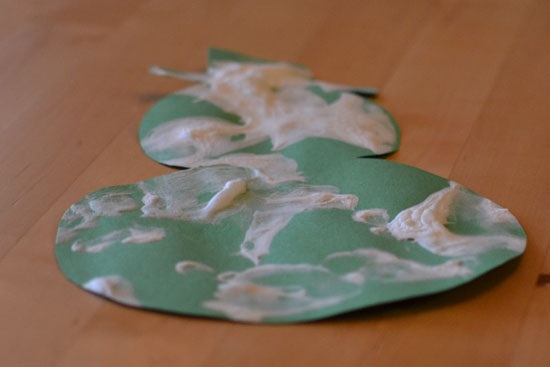
When the sheets had dried {I gave the second batch about 15 hours but I probably could’ve started sooner}, I used the same template I’d used for our Marbled Snowmen to cut out a snowman shape.
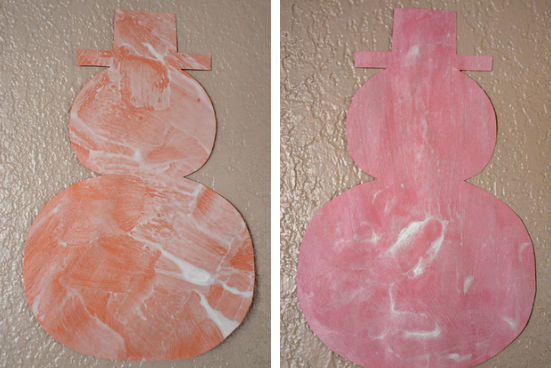
Even the snowmen that weren’t quite as puffy still came out nicely. The structure of the paint was preserved, and the shaving cream and glue mixture dried to a nice shimmery white. {The photos don’t do the shimmer justice at all.} You can still see about half of E’s handprint on the pink snowman 🙂
Additional suggestions:
- Next time, I’d probably cut the snowmen beforehand. It’s pretty tricky to cut them out without flattening the puffy structures. I did lightly tape the template to the reverse side but still had to be careful with how I held it.
- If you want to ensure real puffiness, skip the paintbrush and just use fingers, or put the puffy paint in a bag and cut off a corner to pipe it on the paper.
Have you tried puffy paint? Did you use the shaving cream recipe or the microwave version? Leave a comment!
Click here to subscribe to my newsletter and receive an email twice a week with news from our house and links to all new posts! If you prefer daily updates, you have the option of subscribing to my RSS feed or my printables RSS feed on the same page.
Join me in my Facebook group where we discuss simple play ideas for young kids every day!


E is soooooo lucky to have such a great mom who creates and encourages all these activities!
Aww, thank you so much for the kind words, Gwendolyn!