Outdoor Window Painting
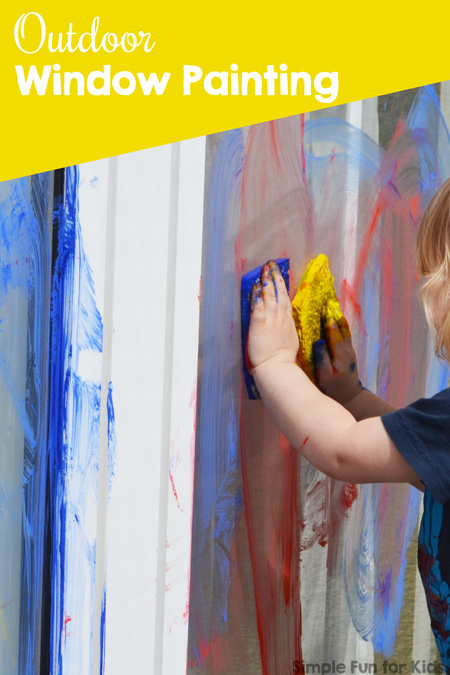
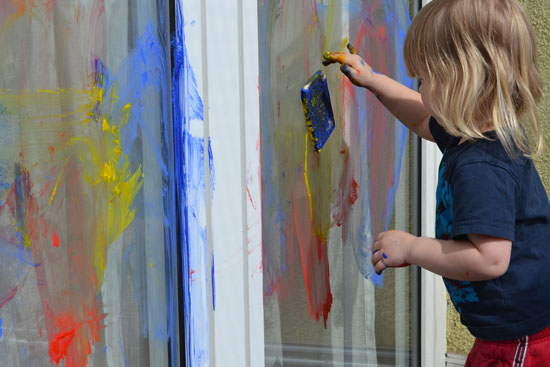
We always like to explore new ways of painting and new art techniques. This Outdoor Window Painting activity was great fun, not nearly as messy as it looks, and a great gross motor exercise at the same time.
(E was 2 years and 5 months old.)
You’ll need:
- Window.
- Tempera paint.
- Dish soap.
- Stick or similar for mixing.
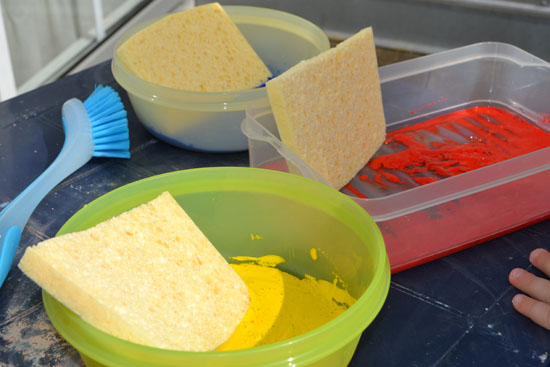
- Bowls for the paint.
- Sponges (optional).
How to make homemade window paint:
Mix tempera paint and dish soap to taste. The more dish soap you use, the easier the clean-up, and the runnier your window paint.
I only used a little bit of dish soap because I didn’t want to dilute the vibrant colors of the tempera. The window paint really wasn’t runny at all, and still quite easy to clean up.
How it worked for us:
After a LONG winter, temperatures suddenly went up into the 70s, and we didn’t want to miss out on the opportunity to enjoy the sun while being creative.
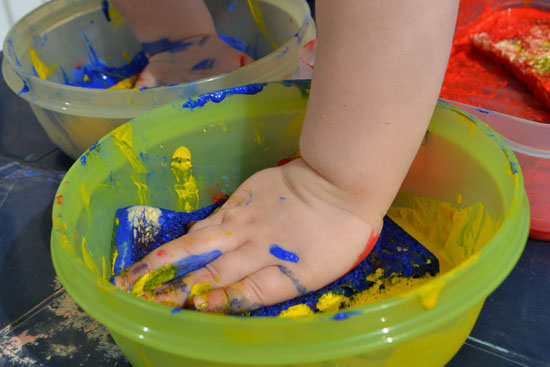
I set out the window paint in plastic bowls with half a sponge in each one and a scrub brush on the side.
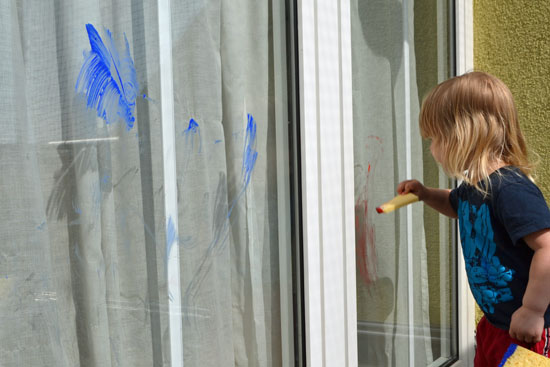
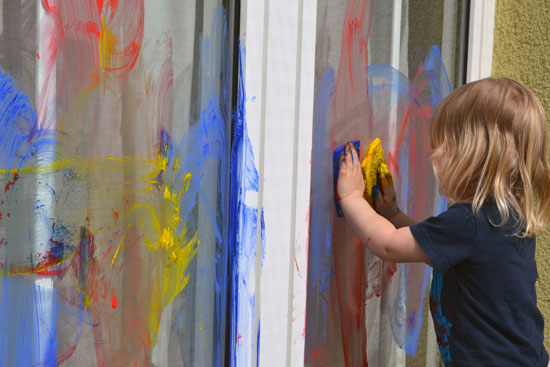
At first, E wasn’t able to get a lot of paint on the window
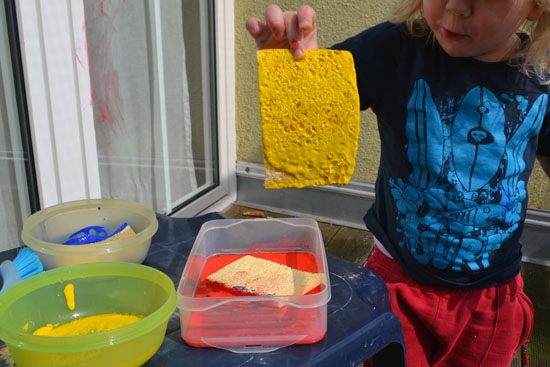
until she figured out that she needed to press the sponge down in the bowl to cover it in paint.
Now we’re talking!
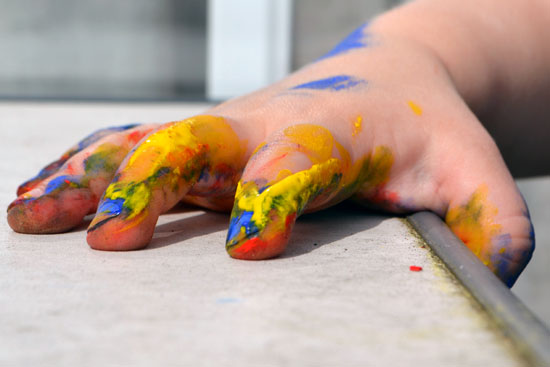
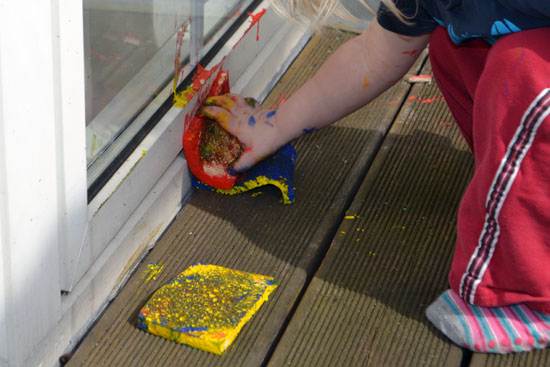
She rotated all three colors over and over again and ended up with wonderfully colorful hands.
Two colors at a time? No problem!
E enjoyed this activity very much and kept saying “Oooh, Mama, look!” and “Papa, look!” {he wasn’t there but she thought it was awesome enough to tell him about it later 😉 }.
The sponges didn’t always go back into the original bowls but the colors didn’t really mix too much.
E tested gravity a few times by “sticking” a sponge on the window and letting go. Sometimes, it took a little nudge for the sponge to fall 😉
She tried the scrub brush once but wasn’t too impressed and preferred the sponges.
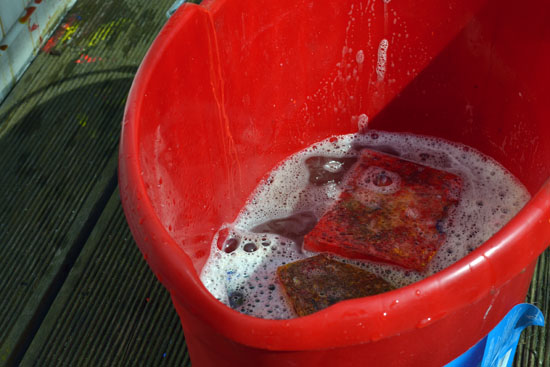
When E was done painting, I filled a bucket with water, and we put the paint-soaked sponges in it
then used them to wash the windows. Sure, it took a bit longer than if we’d used clean sponges but the clean up was almost as much fun as the actual painting activity.
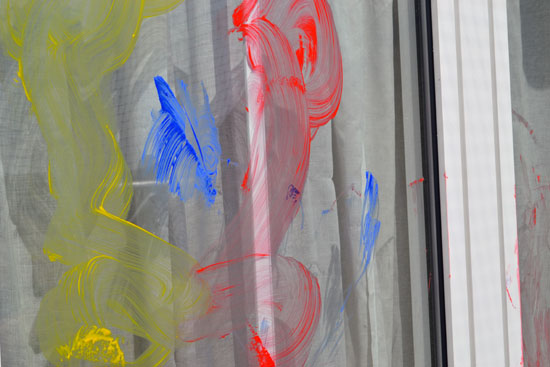
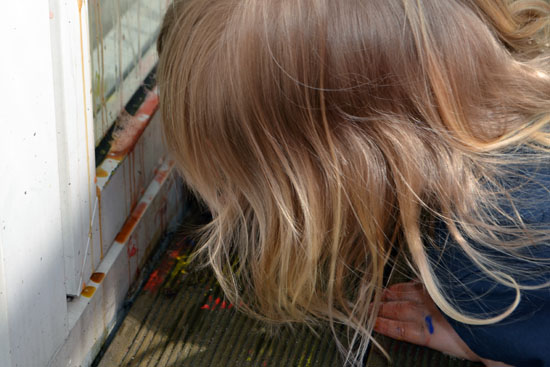
While we washed the window, the diluted paint started running down and pooling at the bottom. E was fascinated and laid on the ground to get a closer look.
What I learned:
- It really wasn’t nearly as messy as I’d thought it was going to be. If we’d used a bit more restraint during the clean-up, we would’ve even been able to paint an inside window.
- It was a bit harder to get the paint off where E painted the plastic window frames, so you may consider discouraging your child from doing that. {Maybe it would’ve been easier if I’d added more dish soap to begin with.}
Additional suggestions:
- Use different painting implements. Finger painting would work well, too.
- Paint an inside window. If you make sure the paint isn’t runny and don’t use a lot of water for the clean-up, there’s minimal mess.
- Paint a mirror with the same paint.
Inspiration:
Handsonaswegrow’s Homemade Window Paint Take 2.
Click here to subscribe to my newsletter and receive an email twice a week with news from our house and links to all new posts! If you prefer daily updates, you have the option of subscribing to my RSS feed or my printables RSS feed on the same page. If you ever want to stop receiving emails from me, you can unsubscribe at any time.
Join me in my Facebook group where we discuss simple play ideas for young kids every day!



One Comment