Marbled Snowmen
We’ve almost come full circle with our marbled crafts: The first time we used the technique earlier this year, we made Marbled Hearts for Valentine’s Day, followed by Easter and fall decorations later on, and now we’re in the middle of making marbled Christmas decorations! The process is just so simple and so much fun, we don’t want to stop!
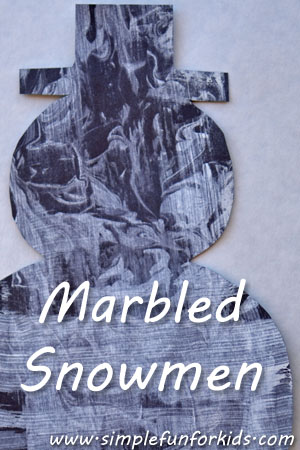
This time, we changed a few things around. First, we made Marbled Snowmen with white paint!
(E was 36 months old.)
This post contains affiliate links for your convenience. Thank you for your support!
When I first thought about trying to use white paint, I wanted to make marbled ghosts for Halloween. Well, that idea never panned out, simply because Halloween came wayyy too fast.
But hey, there are always other occasions to adapt those ideas you didn’t get around to when you first thought of them!
My daughter is really into snowmen {and Christmas trees – here’s how we made Marbled Christmas Trees!} right now, so what better way to use the idea than to make Marbled Snowmen?
You’ll need:
- White tempera paint.
- Shaving cream.
- Dark construction paper.
- Chopstick, paintbrush or similar.
- Tray or shallow plastic box.
{Full instructions for the basic technique are in the Marbled Hearts post.}
As I mentioned above, we’ve done this several times before, and E knows exactly how it works.
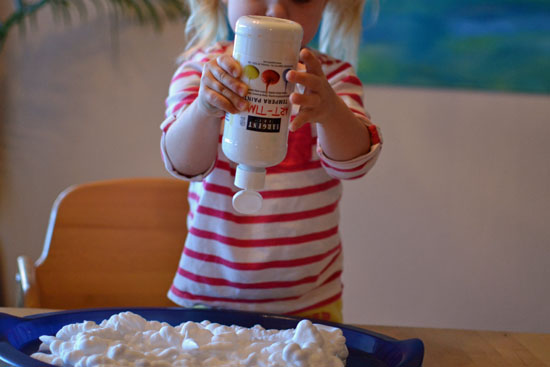
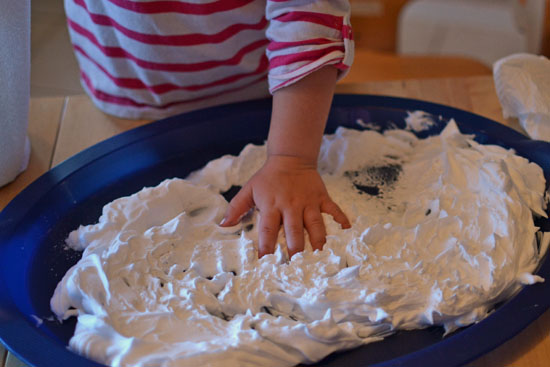
We had a new can of shaving cream, and she couldn’t get it going at first but when it was time to add more after the first few prints, she did it herself.
She added the paint as well. It was a bit odd compared to the other times because you could hardly see the paint on the shaving cream, and it made it hard to judge if we had enough or not.
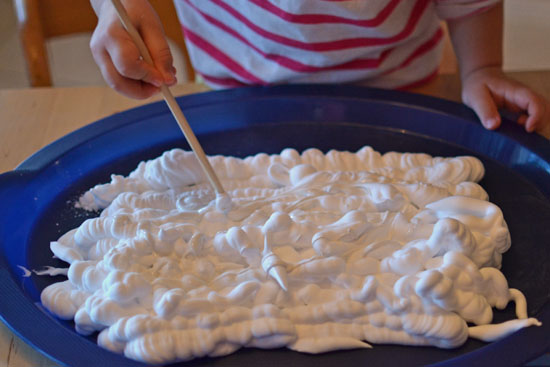
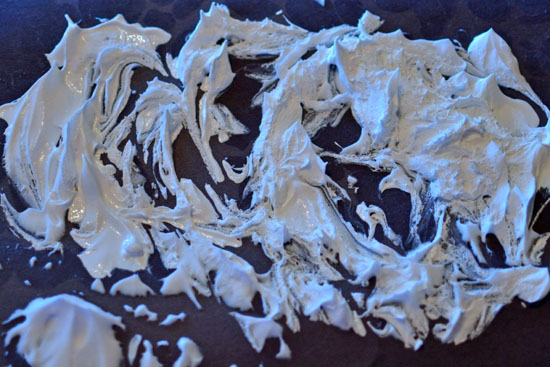
E swirled the paint-covered shaving cream around with a chopstick
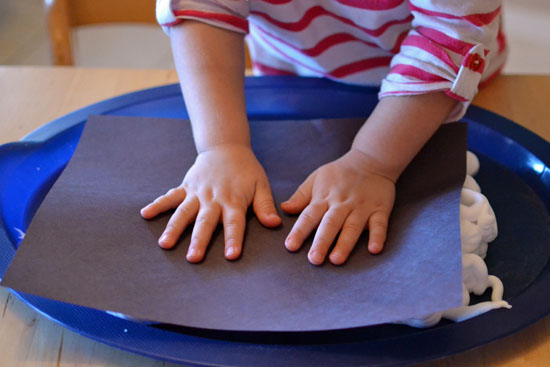
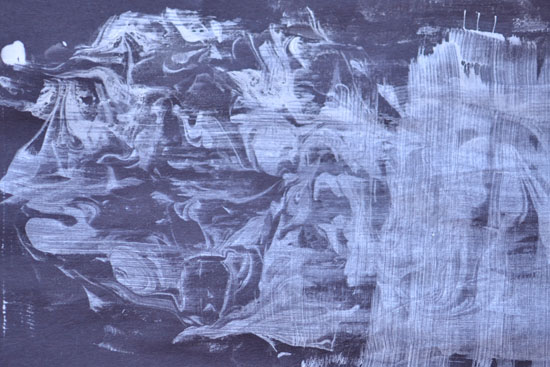
then used a black sheet of construction paper to make a print.
For some reason, I had my doubts that the white paint was really going to work out. After the fact, I don’t really know why but I guess there was just something about white paint on white shaving cream that seemed weird 😉
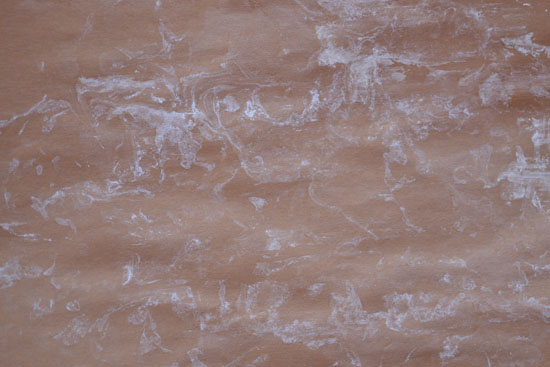
I did run into a problem, though. As you can see in the picture, the marbling worked out fine but when I scraped off the shaving cream, the paint smeared across the page, on this sheet, it was particularly bad on the right hand side. I’m still not completely sure if we used too much paint – maybe we did, like I said, it was hard to tell due to the lack of contrast. Or maybe the white paint is somehow different than the other colors of tempera paint and liquid watercolors we’ve used for our other projects.
After E played around with the shaving cream a bit {a step in all shaving cream activities that can’t possibly be skipped 😉 }
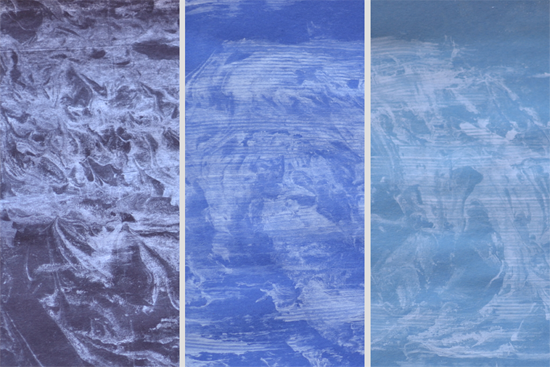
we made several more prints with tempera paint, and they all smeared somewhat, even those where I made sure we used less paint.
We also tried one with liquid watercolors, and it didn’t smear but came out a bit faint.
All of this took nothing at all away from the process or the basic idea, of course, and E was just as excited as I was that it actually worked 🙂
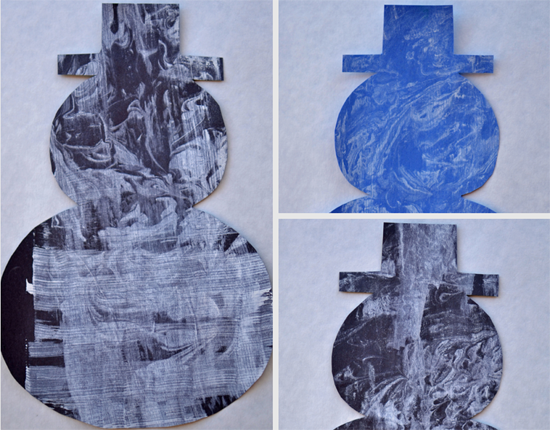
When the sheets were dry, I made a simple snowman template and used it to cut out our Marbled Snowmen. So cute!
Additional suggestions:
- Ghosts or clouds would look great using this technique.
- Try adding some accents in different colors. We tried this with our Marbled Christmas Trees where placement isn’t so crucial but with older kids, you could try to give the snowman eyes and a nose.
Have you tried marbling with shaving cream? Do you know why the paint may have smeared in this project? Leave me a comment!
If you liked this post, come follow me on Pinterest to keep up to date with all we do, and for lots of great ideas from others! Or like and drop me a line on my Facebook page, where I share my own posts and those of others every day!
