

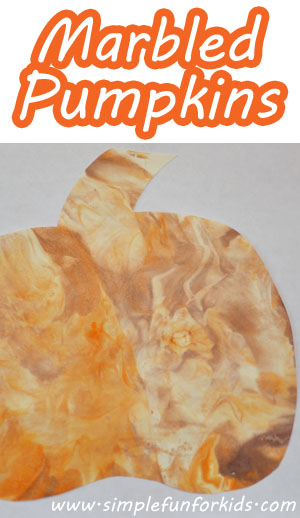
Marbled Pumpkins
Everyone knows we love playing with shaving cream around here {check out 13 Ways to Play with Shaving Cream or Activities with Shaving Cream for more inspiration!}, and among many other things, we’ve used a shaving cream marbling technique on Valentine’s Day for Marbled Hearts and for Marbled Eggs as Easter decorations. The last time we did it was months ago, so I thought we’d try and make some Marbled Pumpkins for fall decorations, and to see how E handles this project now that she’s older.
(E was 35 months old.)
This post contains affiliate links for your convenience. Thank you for your support!
You’ll need:
- Shaving cream.
- Liquid watercolors. We used orange and brown for this project.
- Chopstick, skewer, paintbrush or similar.
- Tray to work on (optional).
- Construction paper or heavier. We’ve used craft foam when we did this for Easter with very good results.
{Basic instructions are in the Marbled Hearts post.}
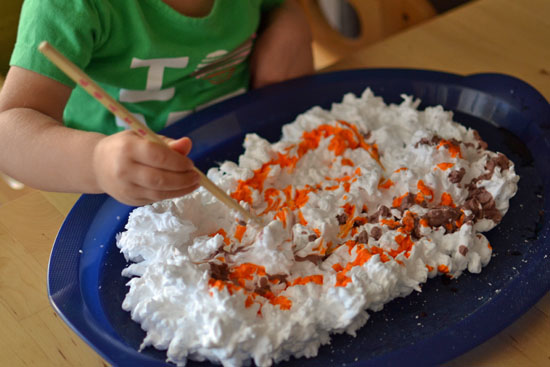
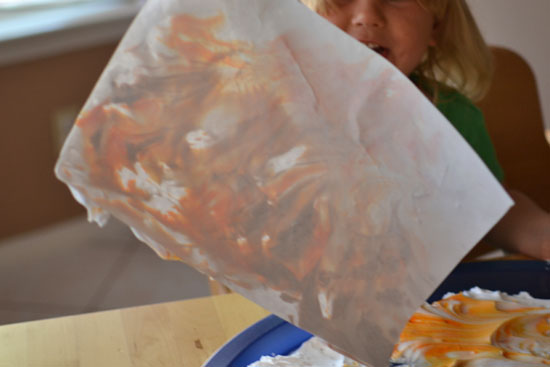
I set up the tray for E, put in a layer of shaving cream and poured orange and brown liquid watercolors on top. She was in charge of making a random swirly pattern with a chopstick and making the prints.
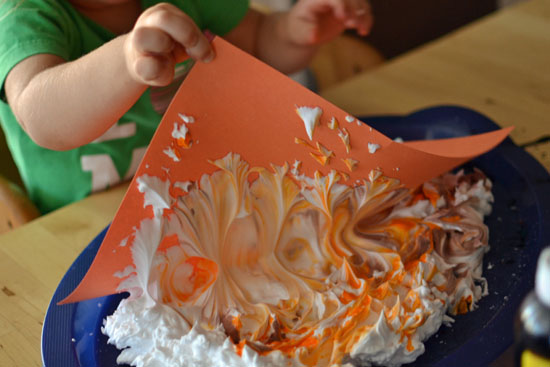
Even when we first did this almost 10 months ago, E loved making the prints, and she still really enjoyed pushing down the paper but especially pulling it back up to reveal the print.
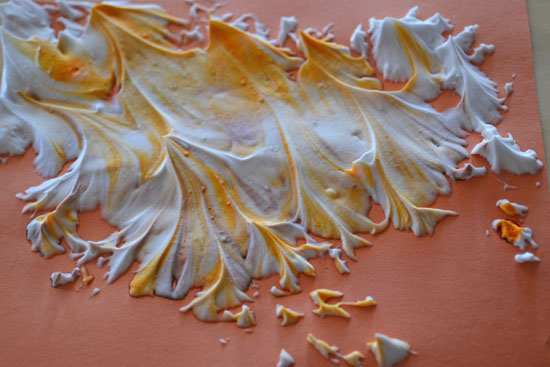
We made so many prints that we had to refresh the paint.

I scraped the shaving cream off the first several sheets but then E asked to do it. She had never done that part – and she did a good job with it!
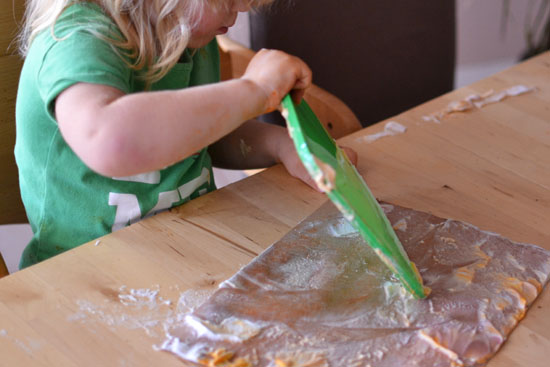
There was a little bit of sensory exploration but the task of marbling the paper was definitely E’s main focus.
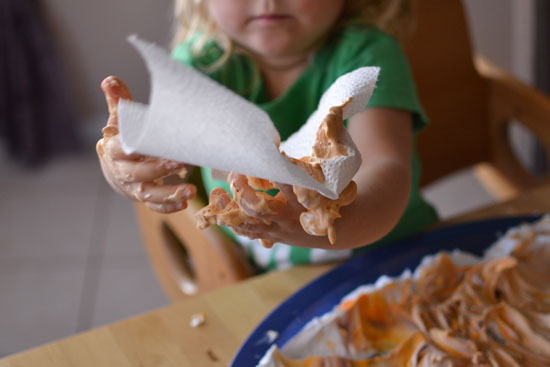
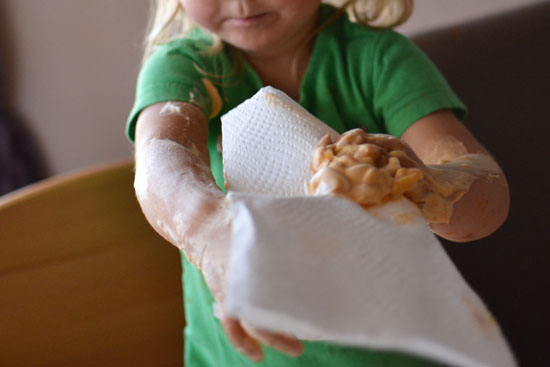
Maybe inspired by being able to do the scraping herself, E asked for more paper when the first set was all done and marbled several sheets completely independently! She didn’t add fresh shaving cream and went with what was left on the tray {even though it wasn’t much} but from adding more paint to picking the paper color to making the print and deciding how hard to push and when to pull the sheet back up to rearranging the shaving cream after a few prints to scraping it off, I kept my mouth shut and my hands still, and she did it all 🙂 She was so proud!

Once the sheets had dried, I drew a template and cut out a pumpkin from all the sheets. {I’ve had people guess it was an apple when E proudly showed them off but I guess it’s the same ballpark 😉 }
They make an awesome display taped to our mantle. I was only going to leave it up temporarily while thinking of a more sophisticated way of displaying them but E was SO excited when she saw it, I think I’ll just leave it be.

Have you tried the shaving cream marbling technique? What’s your favorite kid made fall decoration? Leave me a comment, and feel free to leave a link if you’ve written about it, I’d love to check it out!
If you liked this post, come follow me on Pinterest to keep up to date with all we do, and for lots of great ideas from others! Or like and drop me a line on my Facebook page, where I share my own posts and those of others every day!
These turned out beautifully! Featured this on my 40 Halloween Crafts for Kids Round-Up! http://sowsproutplay.com/activities/40-halloween-crafts-for-kids/
Thank you, Sabrina! Great round up!
Lots of messy fun! Great idea and I love the display of pumpkins as it is!
vv I’ve featured it on The Sunday Showcase: http://www.herecomethegirlsblog.com/2013/10/26/halloween-boredom-busters.html
Thank you, Rebecca! I left the pumpkins up on the mantle, it really does look nice 🙂