Marbled Eggs
We had a blast making Marbled Hearts to decorate for Valentine’s Day using the shaving cream marbling technique.
This time, for Easter, we added craft foam to the materials and made Marbled Eggs.
I found the idea on In Lieu of Preschool and thought it was genius! The moisture in shaving cream warps even heavy paper if you’re not very quick to wipe it off. Craft foam won’t warp, and you can stick it to smooth surfaces easily and reposition just as easily.
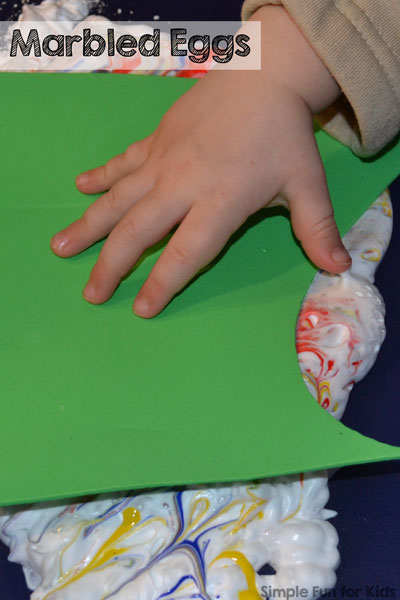
(E was 2 years and 4 months old.)
This post contains affiliate links for your convenience.
To make Marbled Eggs, you’ll need:
- Cardstock and/or craft foam.
- Shaving cream.
- Tempera paint.
- Item to mix the paint into the shaving cream (we used a long metal skewer but you could simply use a paintbrush or any similar items you have on hand).
- Tray.
- Popsicle stick, piece of cardboard or similar to wipe the shaving cream off.
{If you’d like to read more about the basic technique, read Marbled Hearts.}
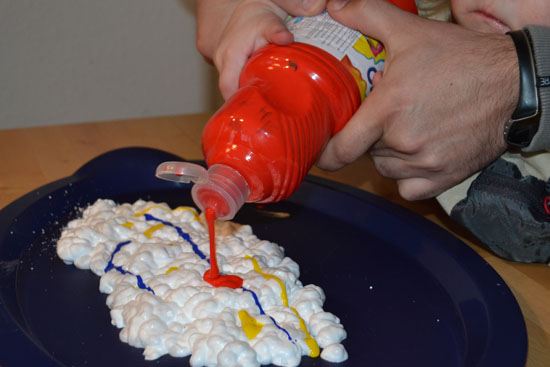
Papa was around when we did this, and after I’d spread the shaving cream on the tray, he helped E add paint.
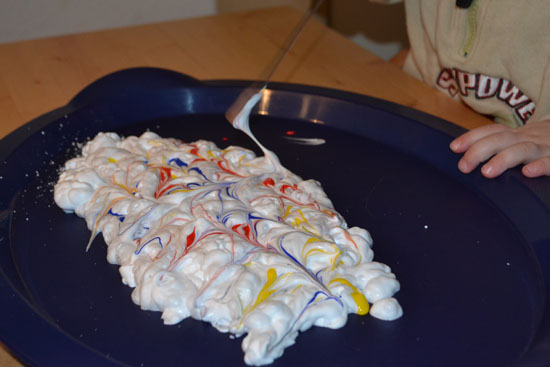
E used a metal skewer to mix the paint into the shaving cream just enough to make a swirly pattern. {Make sure not to mix too thoroughly, or you won’t get the marbled effect.}
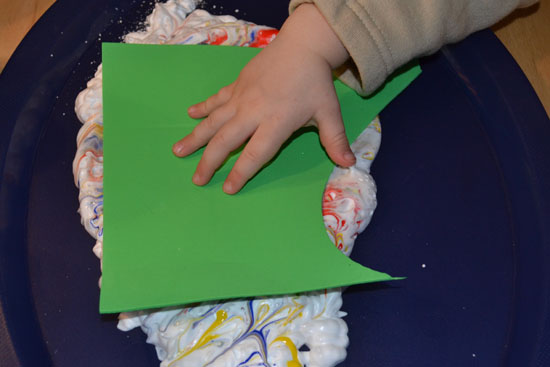
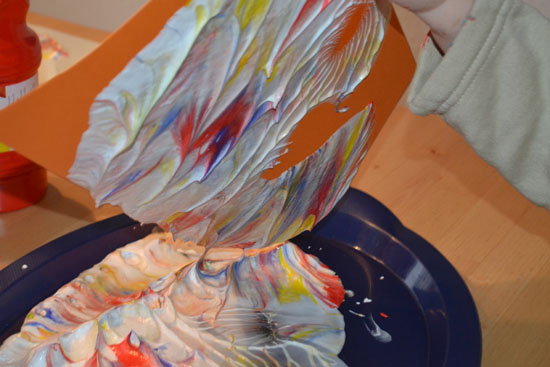
She then placed a piece of green craft foam on top of the shaving cream, pushed down a bit
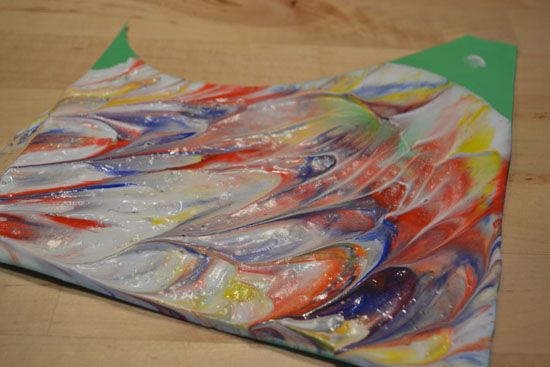
and pulled it off to reveal a pretty print of the pattern she’d made.
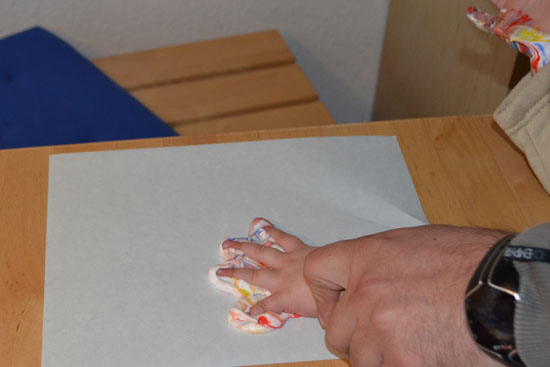
She’d gotten some of the shaving cream/paint mix on her hands, so Papa helped her make a marbled handprint.
E repeated the marbling process with some cardstock
and since the swirls still looked nice, I finished off our project with some regular paper.
{The more you push down on the shaving cream, the more the paint gets mixed into it, and the less pronounced the swirls become. You might have to redo the first two steps of this project if you want to make a lot of Marbled Eggs.}
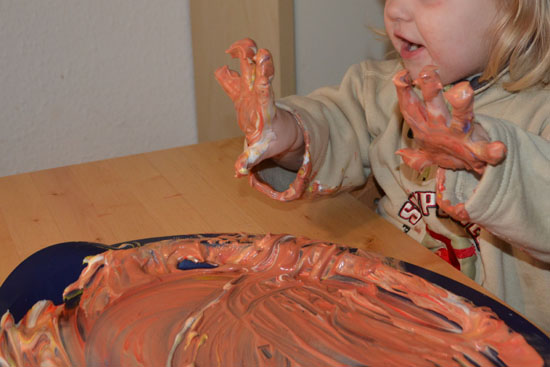
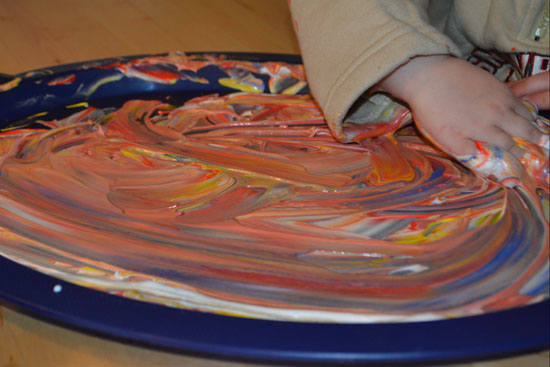
E started exploring the shaving cream with her hands while I was scraping the shaving cream off our card stock/paper/craft foam.
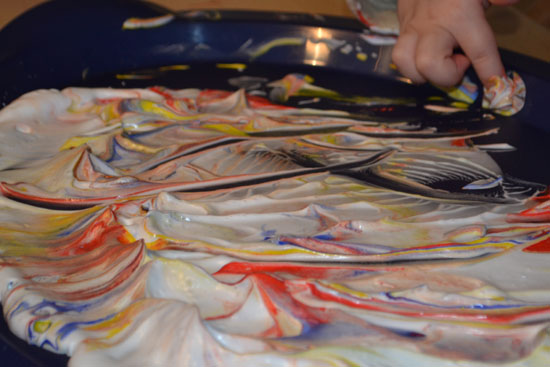
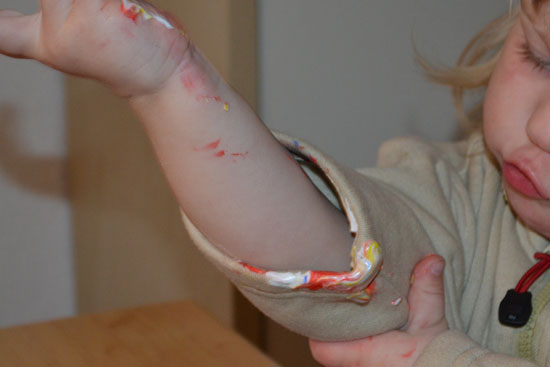
Predictably, she got paint on her sleeve
but once you reach that point, you may as well keep going until the shaving cream is pretty much uniformly reddish 😉
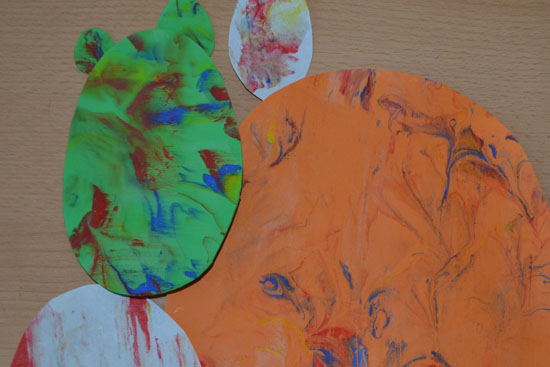
To finish up, I cut the marbled paper/card stock/craft foam into rough egg shapes. The smaller egg from light-colored paper is cut from E’s handprint 🙂
She insisted on taping the eggs to our window. She got such a big kick out of doing it with our Stained Glass Heart and hasn’t forgotten about it 😉 {Maybe I should wash the window before our next craft project 😉 }
What I learned:
- The craft foam worked out quite nicely, and the colors came out very vibrant.
- Many people use food coloring instead of paint with great results.
Additional suggestions:
As with the hearts, you can cut your desired shape first from plain paper before marbling. I always marble first because you can then choose the nicest areas to cut out.
Have you tried the shaving cream marbling technique? How do your kids decorate for Easter? Tell me about it in the comments!
Looking for other simple Easter crafts? Try these!
Toilet Paper Roll Easter Baskets from Easy Peasy and Fun
10 Easy Easter Crafts for Kids from Happy Hooligans
Click here to subscribe to my newsletter and receive an email twice a week with news from our house and links to all new posts! If you prefer daily updates, you have the option of subscribing to my RSS feed or my printables RSS feed on the same page.
Join me in my Facebook group where we discuss simple play ideas for young kids every day!
