Magnetic Letter Matching
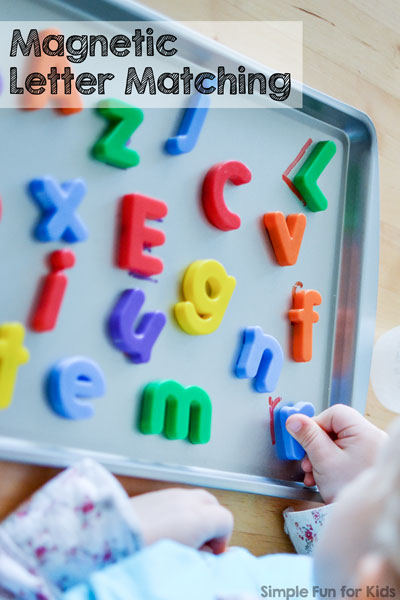
When E was learning her letters in preschool, she started being very interested in seeing them all around her. Her magnetic letters were her favorite toy for a while, and to extend her play, I made her a simple magnetic letter matching board that took me less than five minutes to put together.
(E was 3 years old.)
This post contains affiliate links for your convenience.
Materials for a DIY magnetic letter matching board:
- Cookie sheet, dry-erase board or similar magnetic surface. {As an alternative, you can frequently find magnetic chalkboards – just write letters in chalk; write letters on the fridge; or if you’re desperate, there’s always magnetic paint to magnetize pretty much any surface. When it comes right down to it, the surface doesn’t even HAVE to be magnetic, as long as you can lay it flat.}
- Magnetic letters.
- Dry-erase markers. {The ones we used seem to be a European thing, but we also have these and really like them.}
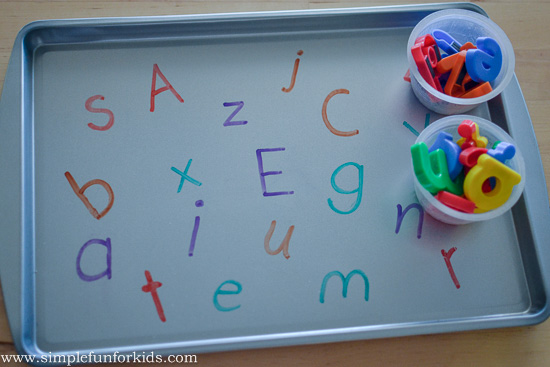
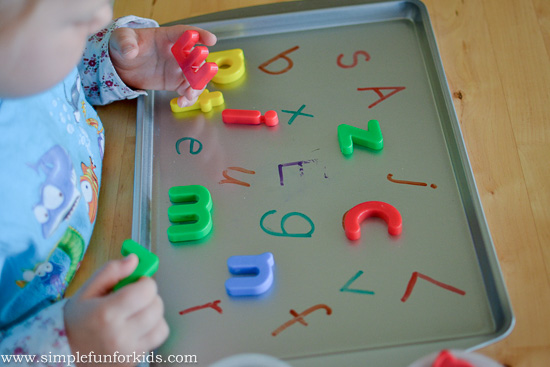
I used a dollar store cookie sheet and random magnetic letters, a few uppercase and a few lowercase ones.
At first, I tried to trace the magnetic letters, but it turned out to be really hard to trace all the little details on them with the fairly thick dry-erase markers I had. {However, it could be a slightly different activity to just trace the outlines of the letters and have the kids match them more puzzle-style rather than having instantly recognizable letters on the cookie sheet.}
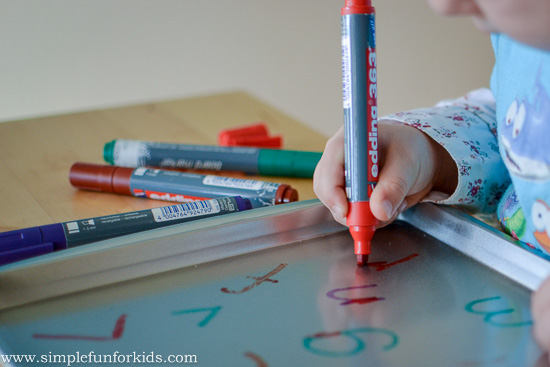
I decided to write the letters on the cookie sheet instead. The sizes and the penmanship weren’t perfect but close enough for E to match them quite easily.
She thought it was a great idea and started pulling letters out of the applesauce cups immediately to match them to the letters on the cookie sheet.
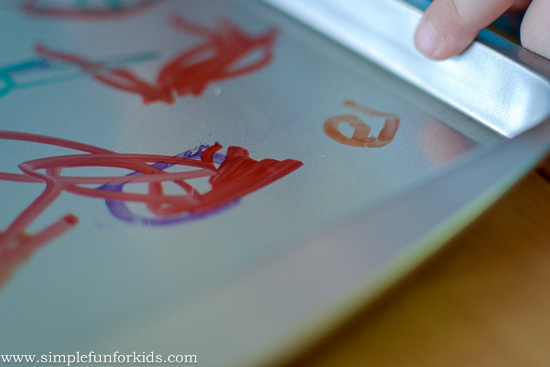
The dry-erase markers rubbed off pretty easily when the magnetic letters were pushed around but E didn’t do too much of that, so it wasn’t a problem.
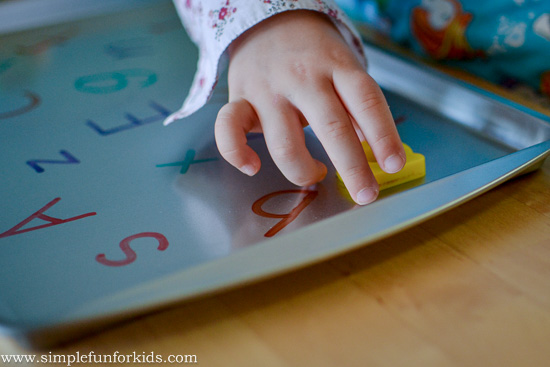
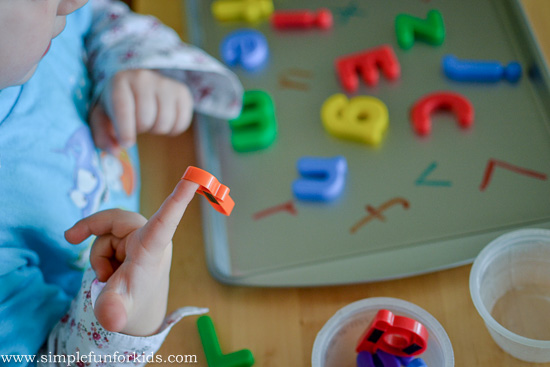
The magnetic letters are nice and tactile, and you can stick them on your finger while looking for the right spot
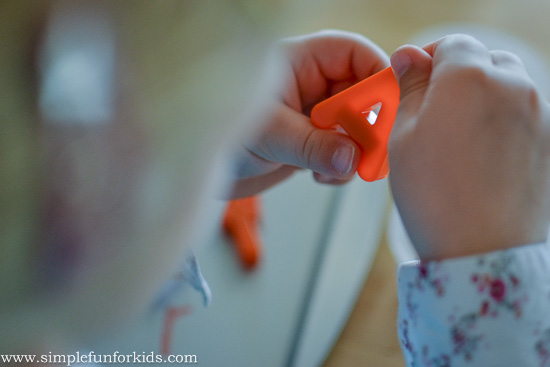
or just examine them carefully with your hands.
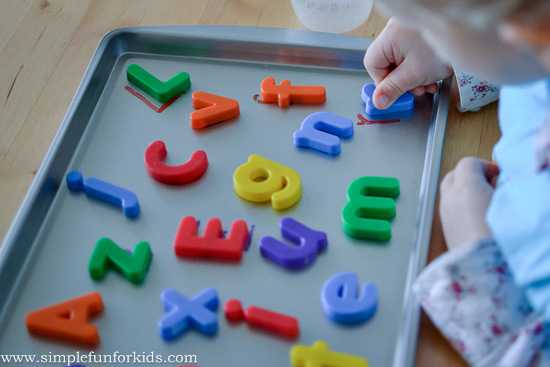
Once E had matched all the letters
she removed all the magnetic letters again, then asked to use the dry-erase markers herself, and started tracing and/or scribbling over the letters I’d written.
She even wrote her own “e” – I was pretty impressed that she knew how to do that 🙂
Have you tried magnetic letter matching? What’s your favorite letter matching activity? Leave a comment below!
Click here to subscribe to my newsletter and receive an email twice a week with news from our house and links to all new posts! If you prefer daily updates, you have the option of subscribing to my RSS feed or my printables RSS feed on the same page.
Join me in my Facebook group where we discuss simple play ideas for young kids every day!


One Comment