Magic Milk Process Art
I’ve recently written a few posts about how we’ve mixed art and science {check out Paper Towel Art and Painting on Salt and Glue}. The following activity was “just” supposed to be a magic milk experiment, and I honestly thought it wouldn’t last more than a few minutes. But E turned the whole thing into really fun process art that she has requested to do over and over and over again.
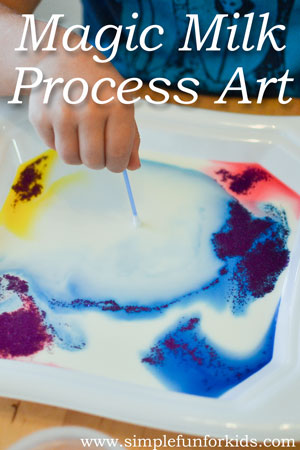
(E was 3 years and 7 months old.)
This post contains affiliate links for your convenience.
Materials for Magic Milk Process Art:
- Milk.
- Liquid watercolors or food coloring.
- Eye dropper(s).
- Plate.
- Dish soap.
- Cups for the watercolors and dish soap.
- Q-tips.
- Glitter (optional).
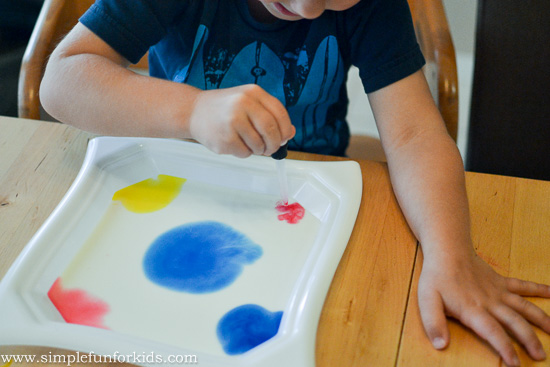
We poured 2% milk {just what we had in the fridge, whole milk should work even better} into a plastic plate, enough to cover the bottom. E picked three watercolors that went into applesauce cups, one glitter color, and we got out three eye droppers, a few q-tips and another applesauce cup with a tiny bit of dish soap in it. {Glitter isn’t usually part of the magic milk experiment but E loves it, and I couldn’t see a reason why we couldn’t use it.}
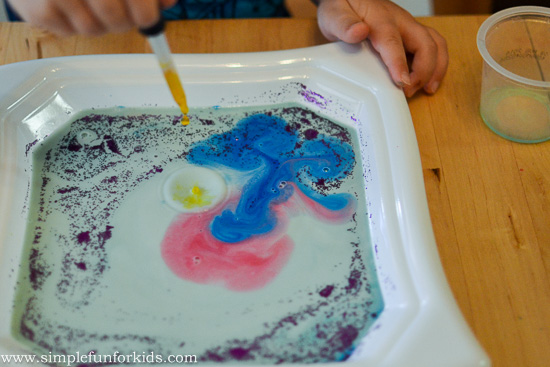
I explained to E the basics of what I expected to happen, and then let her do what she wanted. She started by putting drops of watercolors into the corners and the middle of the plate with the eye droppers. She was very particular about where everything went.
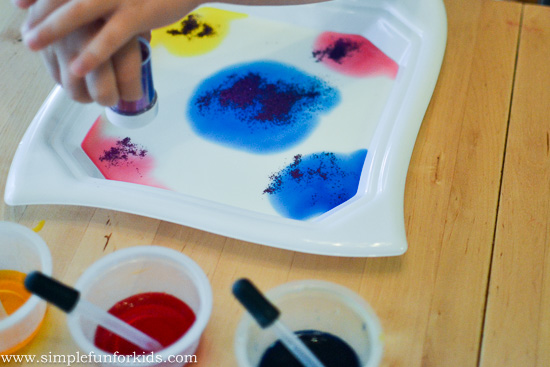
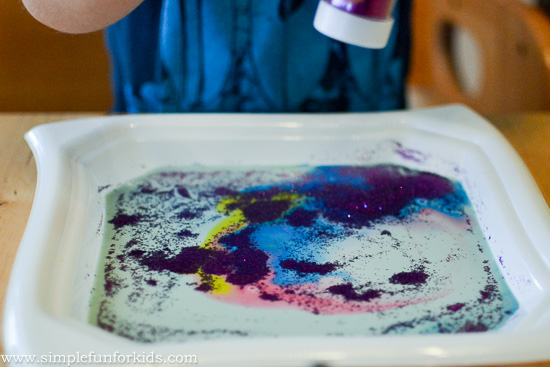
Next, she decided to add some glitter to each colorful spot.
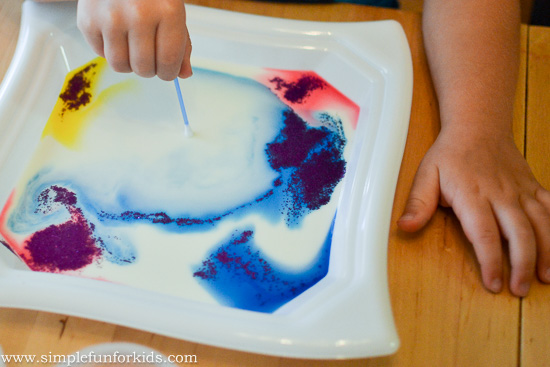
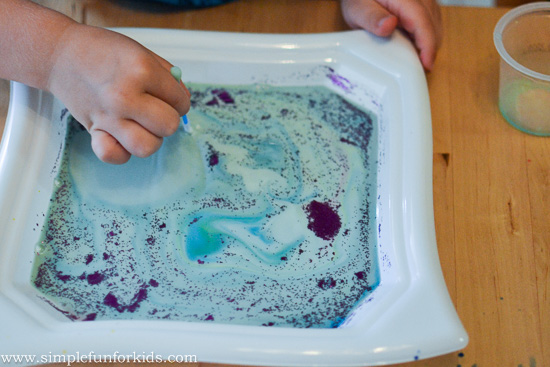
When she was done, she dipped a q-tip into the dish soap and placed it in the middle of the plate, right in the big blue spot. The soap pushed the colors and glitter away, as expected.
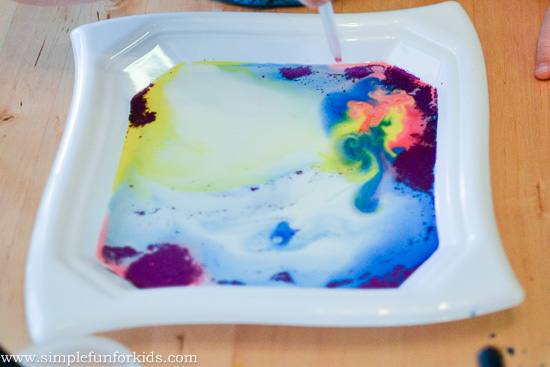
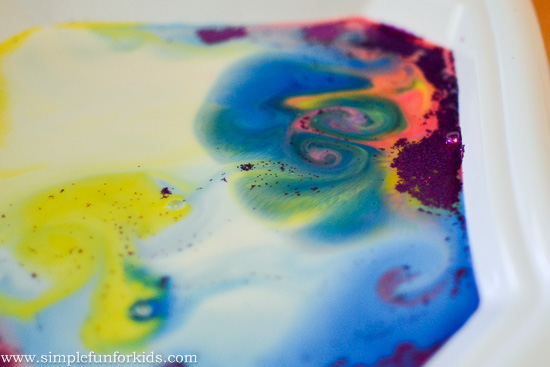
E was pretty impressed but now, most of the colors were all the way at the edges of the plate, and she felt the need to add more watercolors. We both loved the way they swirled together.
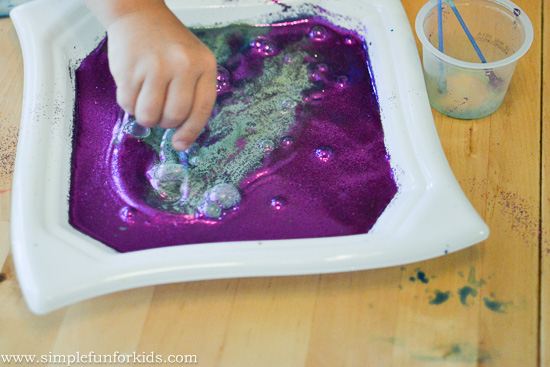
E used the q-tip again but this time, it was more of a mixing stick
and she kept going until everything was this light greenish blue color. Even then, the magic milk reaction still worked when she added a little more dish soap to the q-tip. The glitter really helped us see it with the colors almost completely mixed already.
Again, E decided to add more watercolors,
and more glitter.
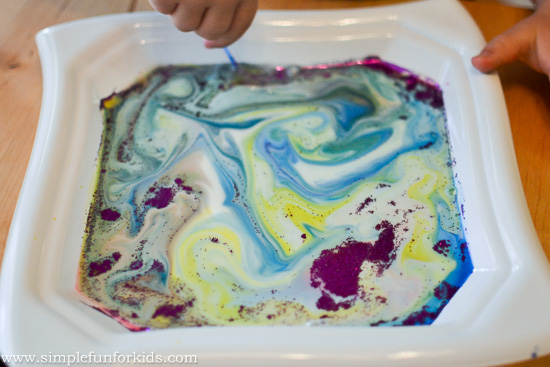
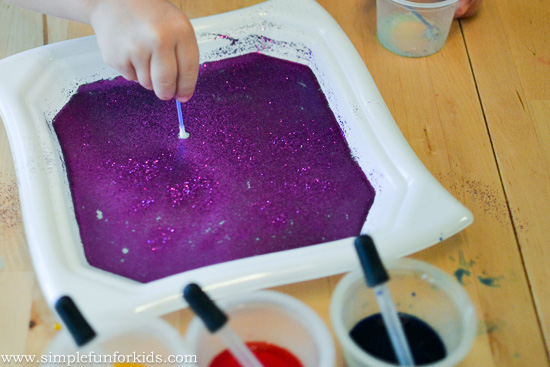
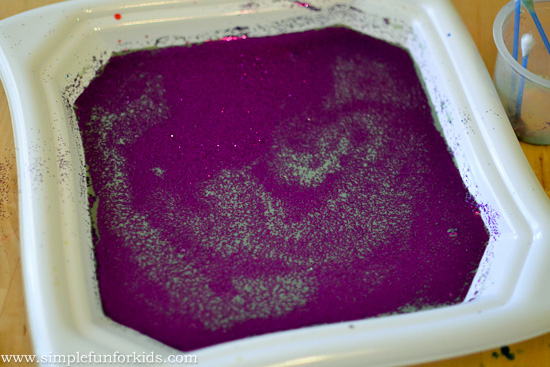
She did both a few more times in between mixing, until the surface of the milk was completely covered with glitter. At that point, no amount of dish soap was able to make the glitter budge anymore 😉
But she could certainly stir the mixture, and she had fun doing it.
By the time she was done, none of her process art was visible anymore
but she certainly remembered how much fun it had been, and we did the same activity over and over again over the next few weeks.
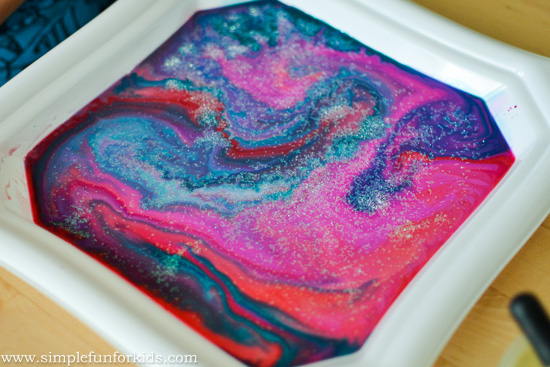
We used different watercolors and glitter colors each time, and this must have been my favorite combination – the white glitter accentuated the watercolors without overwhelming them:
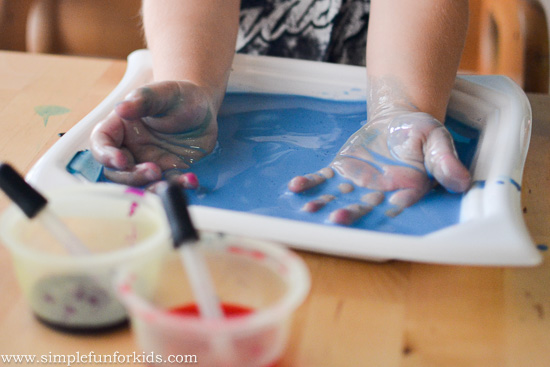
Every time, E followed pretty much the same procedure she used the first time she did this, but sometimes, she threw in a little extra, like this sensory exploration of the colorful magic milk 🙂
Once, when we didn’t have any milk in the house, we tried the Magic Milk Experiment Using Water! Read the post to see how it went!
Have you tried the magic milk experiment? Tell me about it in the comments!
If you like this post, click here to subscribe to my newsletter and receive an email once a week when new posts are published, or to my RSS feed.
Also make sure to follow me on Pinterest to stay up to date with all we do, and for lots of great ideas from others!
If you prefer Facebook, I’d love to connect with you there: Like and drop me a line on my Facebook page, where I share my own posts and those of others every day!

LOVE IT! We’ve tried milk magic before but we didn’t add glitter to it or really play with it. Thanks casue now I’m going to let my kids loose on the milk.
Yay, so glad it inspired you! I hope your kids have as much fun as E did 🙂