

Fluorescent Pumpkin
Last week, it was time to get ready for the Harvest Festival at E’s preschool again. They always have a pumpkin exhibition, and of course E wanted to contribute to it. {Last year, she pour painted her pumpkin.} We went to the pumpkin patch a couple of weeks ago in preparation and picked out pumpkins.
E had lots of fun washing them to get them ready to be decorated. She couldn’t wait to get the larger pumpkin on the table – and all she wanted to do was paint it with paintbrushes. It still turned out pretty special because at the last minute, she chose to make a Fluorescent Pumpkin!
(E was 3 years and 11 months old.)
This post contains affiliate links for your convenience.
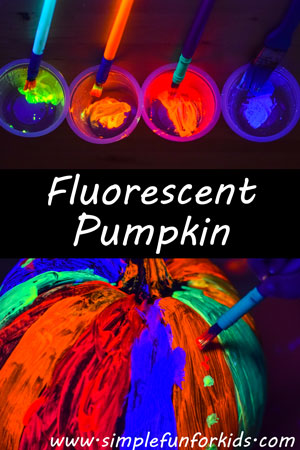
To make a fluorescent pumpkin, you’ll need:
- Pumpkin. {We love real ones but a fake one would work, too.}
- Fluorescent tempera paint.
- Paintbrush(es).
- Black light.
- Cups or bowls for the paint.
It all started simply enough – E used the fluorescent paint just like she would any other kind of paint.
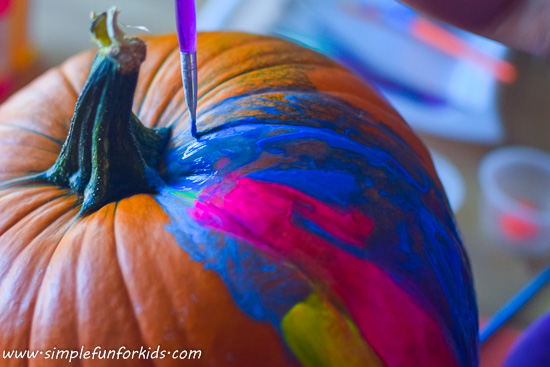
She noticed that the blue paint was much lighter on the left of the area she’d painted than on the right. We talked about it for a bit, and she touched it to verify my explanation that the paint had already dried on the left-hand side.
She did about a quarter of the pumpkin that day, mostly painting stripes. I thought she did quite a good job compared to earlier attempts – I think the “stripes” on the pumpkin helped her, even though she didn’t follow them.
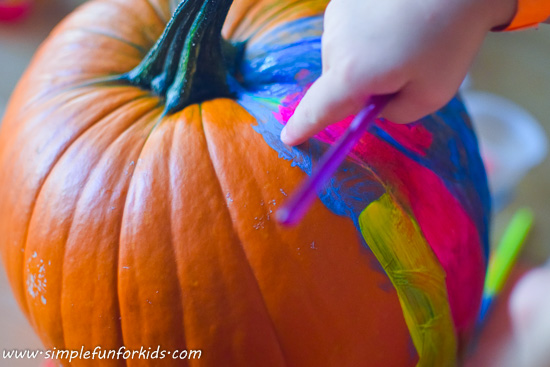
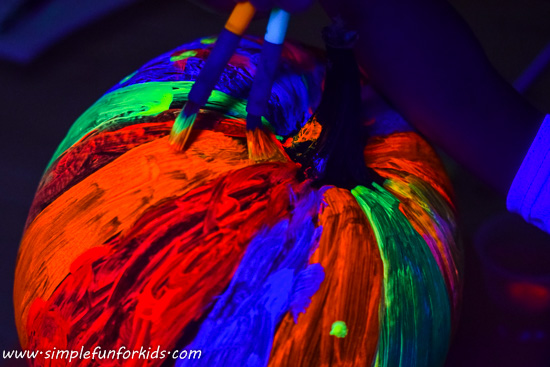
The next day, E wanted to come back to her project, and she asked Papa to paint with her. He mostly went along with her stripe theme.

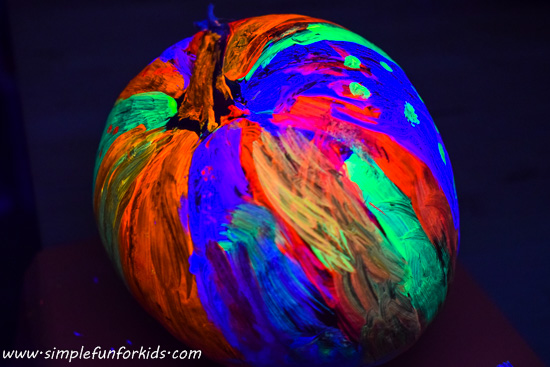
Suddenly, it occurred to me to turn on the black light – and it was AMAZING!
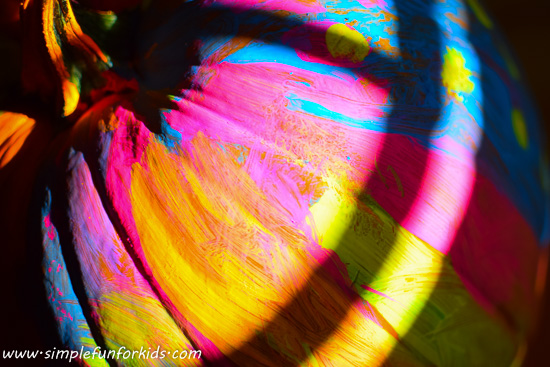
This was before I’d closed the shutters all the way:
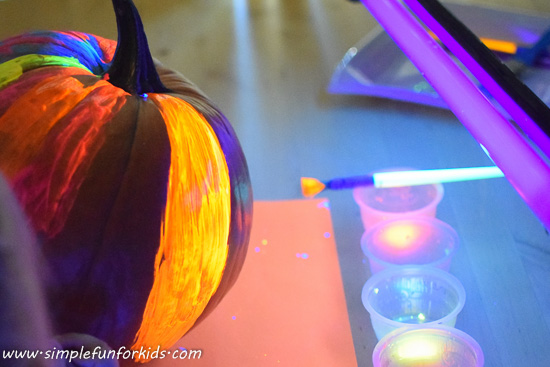
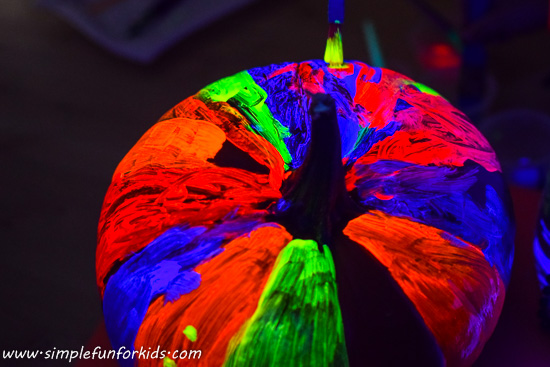
Once the shutters were closed, we were just blown away by the beauty of the glowing paint.
Papa suggested to try painting with two paintbrushes at once, and E really liked that.
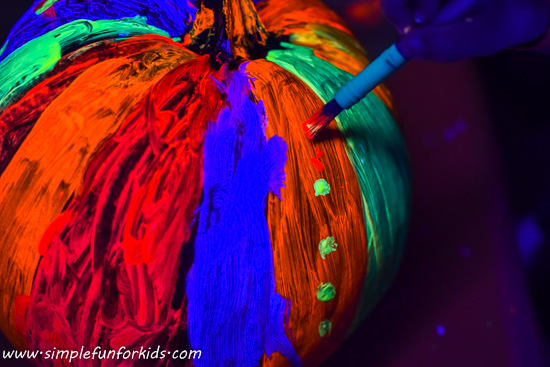
She also tried some dots to take a break from the stripes, imitating what Papa had done earlier.
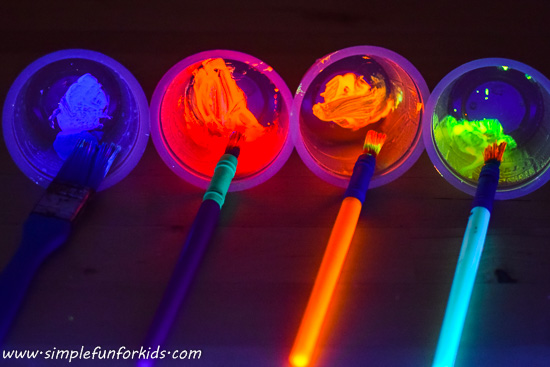
Even the paint cups looked AWESOME! I hadn’t realized that some of our paintbrushes even had fluorescent handles that made it even more fun.
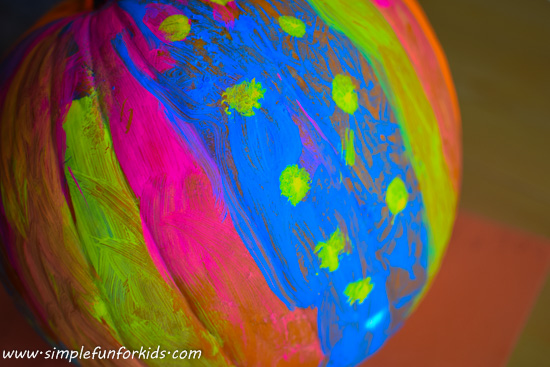
The fluorescent pumpkin still looked nice without the black light
but with the black light on, it’s just amazing!
We’d had the fluorescent paint for a while, just never got around to using it. Now that we’ve tried it with such amazing results, I’m really motivated to find more uses for it – not necessarily just for art, either!
Have you tried fluorescent paint? Do you have any must-try ideas for it? Let me know in the comments, and feel free to leave a link if you’ve written about it!
If you like this post, click here to subscribe to my newsletter and receive an email once a week when new posts are published, or to my RSS feed.
Also make sure to follow me on Pinterest to stay up to date with all we do, and for lots of great ideas from others!
If you prefer Facebook, I’d love to connect with you there: Like and drop me a line on my Facebook page, where I share my own posts and those of others every day!