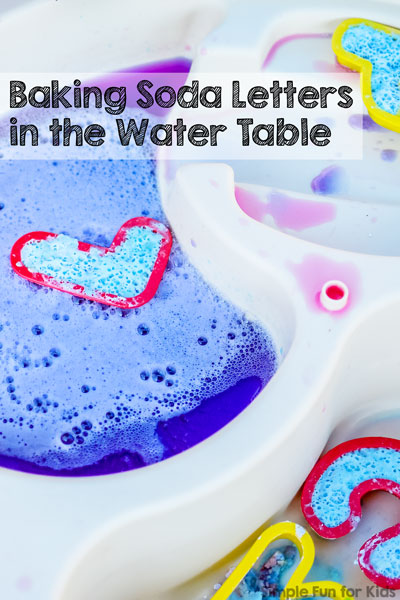
Baking Soda Letters in the Water Table
After our recent Fizzy Baking Soda Play Date, we dumped the water out of the water table and were left with a layer of wet lightly colored baking soda. It seemed a shame to just throw all that pretty baking soda away, so we decided to reuse it and make baking soda letters.
(E was 3 years and 11 months old.)
This post contains affiliate links for your convenience.
Materials for playing with baking soda letters:
- Baking soda.
- Water, liquid food coloring or liquid watercolors.
- Letter cookie cutters.
- Vinegar.
- Squeeze bottles.
- Fizzy tub colors (optional).
- Water table (optional).
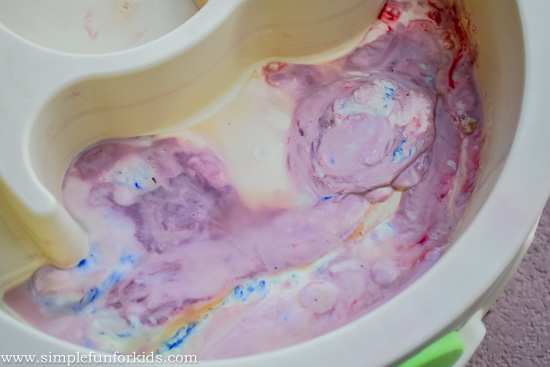
This is what our water table looked like after we’d dumped out the water.
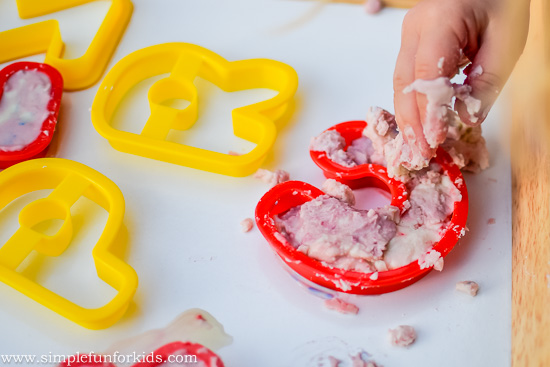
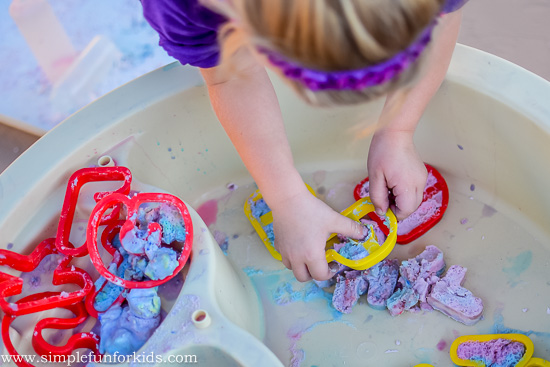
E and I scooped out the wet baking soda with our hands and pushed it into large plastic letter cookie cutters.
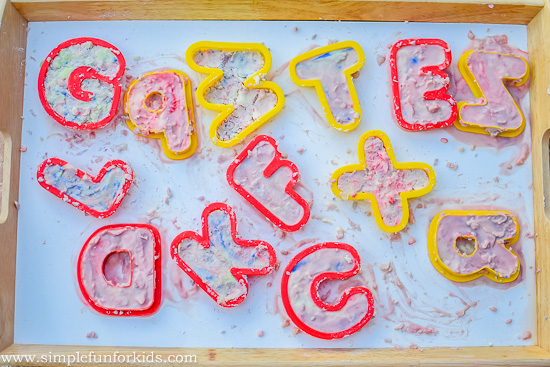
We had to keep getting more cookie cutters – the left over baking soda went a long way! We ended up with a tray full of baking soda letters.
It took several days for the baking soda to dry. I’d initially thought we might be able to pop the letters out of the cookie cutters to play with them but when I tried, chunks would break off, so I left them in the cookie cutters.
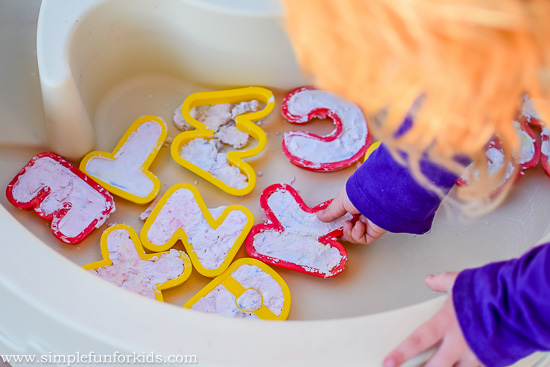
To start off her play, E decided to arrange all the baking soda letters in the lower compartment of the water table.
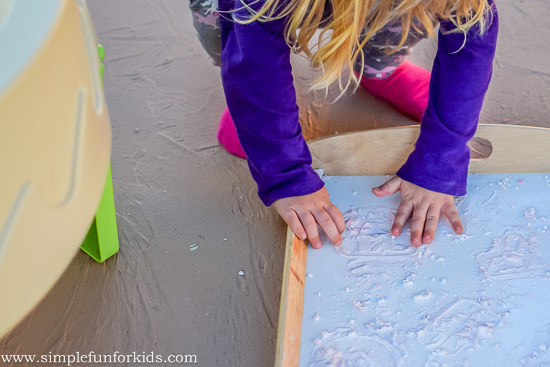
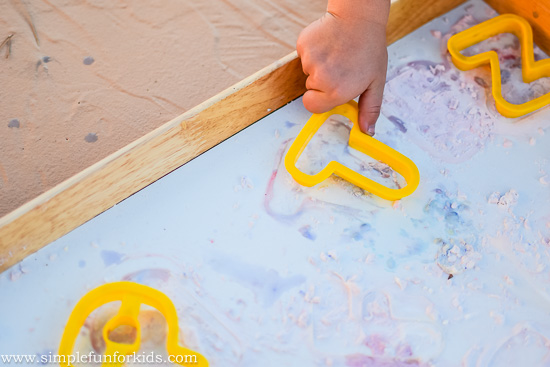
She was excited to find that the letters had left their mark on the tray.
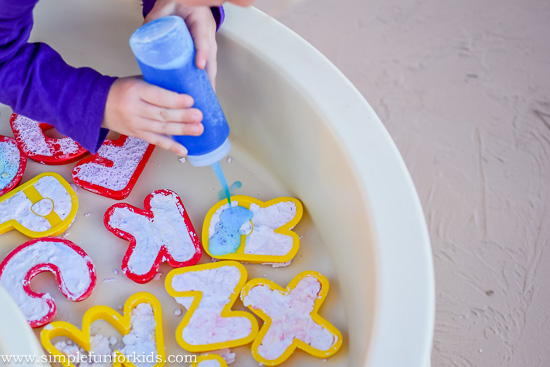
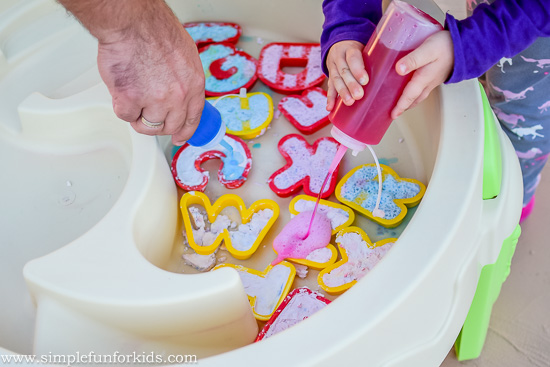
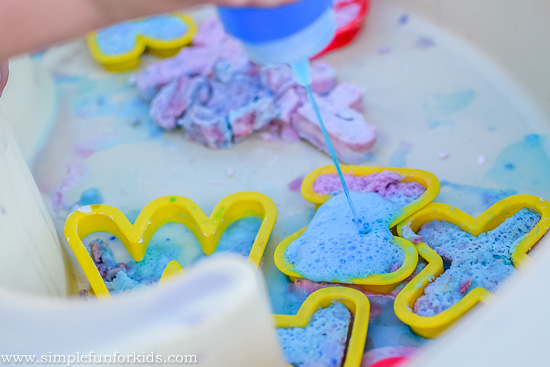
Once she’d placed all the cookie cutters where she wanted them, we filled two squeeze bottles with vinegar, and E chose a blue and a red fizzy bathtub color tablet to color the vinegar.
She decided to trace the letters with the vinegar – I wasn’t sure going into this how well the used baking soda was going to work but it was still as fizzy as ever!
After a while, Papa came out to see what we were doing, and E handed him one of the squeeze bottles.
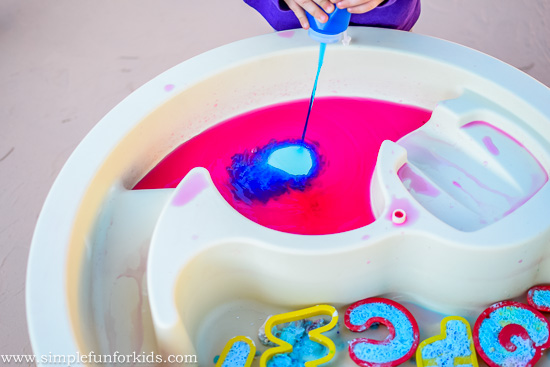
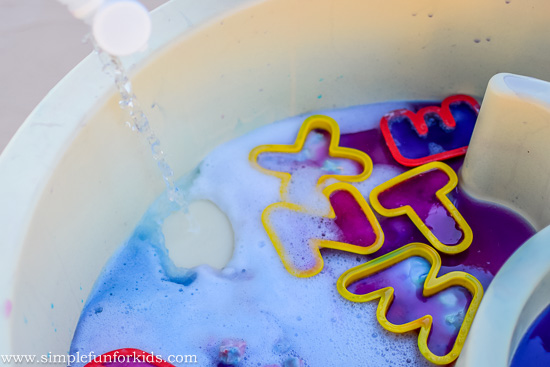
When E and Papa were done tracing all the letters, E started pouring colored vinegar into the top compartment of the water table – red first, then blue.
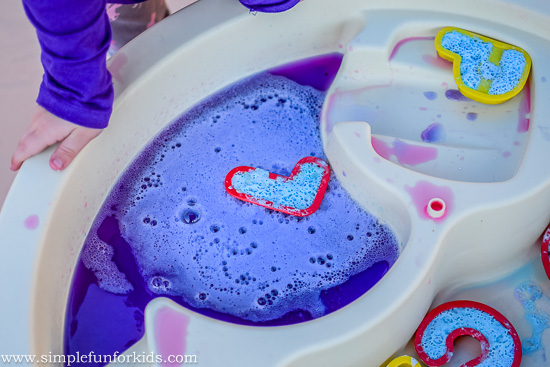
The two colors made a beautiful rich purple, and E started placing letters in it one by one. They fizzed very nicely! {You’d think I’d color-coordinated E’s shirt but when she got dressed that morning, I didn’t even know we were going to do this activity, leave alone that E was going to pick red and blue 😉 Come to think of it, I’m sure she would’ve changed her shirt long before if I’d tried anything like that 😉 }
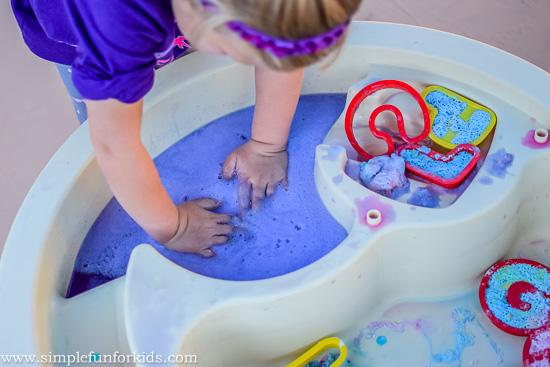
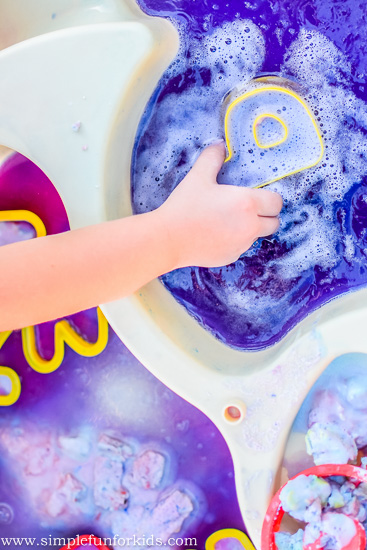
Even after their vinegar bath, the baking soda stayed in the first few cookie cutters. It all fell out of the C, though, making even more awesome bubbles that lasted long enough for E to stick her hands in.
Afterwards, she asked for more blue vinegar, and we filled her bottle up again to allow her to cause more eruptions.
A few letters had disintegrated when she tried to pick them up, and she crumbled up a few that were missing chunks.
There wasn’t much vinegar left in the big bottle {we buy it by the gallon 😉 }, so I allowed E to pour it out straight from the bottle into the lower compartment for maximum fizziness!
When E was done with the activity, she washed out the cookie cutters in the vinegar
and matched them up with the marks on the tray! It was like her own personal puzzle 🙂
Have you played with baking soda letters before? What’s your favorite sensory activity with a learning spin? Leave a comment to tell me about it!
Click here to subscribe to my newsletter and receive an email twice a week with news from our house and links to all new posts! If you prefer daily updates, you have the option of subscribing to my RSS feed or my printables RSS feed on the same page.
Join me in my Facebook group where we discuss simple play ideas for young kids every day!

What a lovely way to play with vingar and baking soda, thanks for joining in the parenting pin it party
Thank you, I’m so glad you like it!